
📑 On this page
Imagine booting your Windows 10 or 11 PC only to see a BitLocker recovery screen asking for a key you never expected. If BitLocker keeps asking for the recovery key at every startup – essentially a stuck recovery-key loop – it can be both frustrating and alarming. BitLocker will demand that 48-digit recovery key whenever it senses a potential security risk or change in system configuration, even if you didn’t knowingly change anything major. The good news is this BitLocker dilemma can be overcome.
In this guide, we’ll explain why the “bitlocker asking for key stuck” issue happens and how to resolve it. We’ll walk you through finding your recovery key and fixing whatever triggered BitLocker so that it stops prompting you every time. We’ll also cover what to do if you don’t have the key at all. Esmond Service Centre is also ready to help you at any point with hands-on support to get your PC back up and running.
Quick Summary: Fix “BitLocker Asking for Key Stuck”
| Key point | What to Do ( at a glance ) |
|---|---|
| Symptom | Blue recovery screen asks for 48-digit key at every boot |
| First Step | Enter the correct key once to unlock, then fix the cause |
| Find the Key | Microsoft account (match Recovery Key ID) · USB · printout · Azure AD/IT |
| Match the ID | Use the on-screen Key ID to pick the right key for this device |
| Common Triggers | BIOS/UEFI changes · TPM off/cleared · Secure Boot toggled · Boot order/USB attached · Major Windows update |
| Stop the Loop | In BIOS: enable TPM & Secure Boot, ensure UEFI mode, correct boot order, set correct time |
| Re-seal BitLocker | In Windows: Suspend protection → Reboot → Resume protection (refresh trust) |
| Fast Commands | manage-bde -protectors -get C: · -unlock C: -RecoveryPassword <48digits> · -protectors -disable C: -RebootCount 3 · -protectors -enable C: |
| No Key Found | Data can’t be decrypted; options: wipe/reinstall Windows, restore from backups |
| Get Help | Need hands-on recovery or setup? Esmond Service Centre (Singapore) can assist end-to-end |
Where Do I Find the Correct BitLocker Recovery Key?
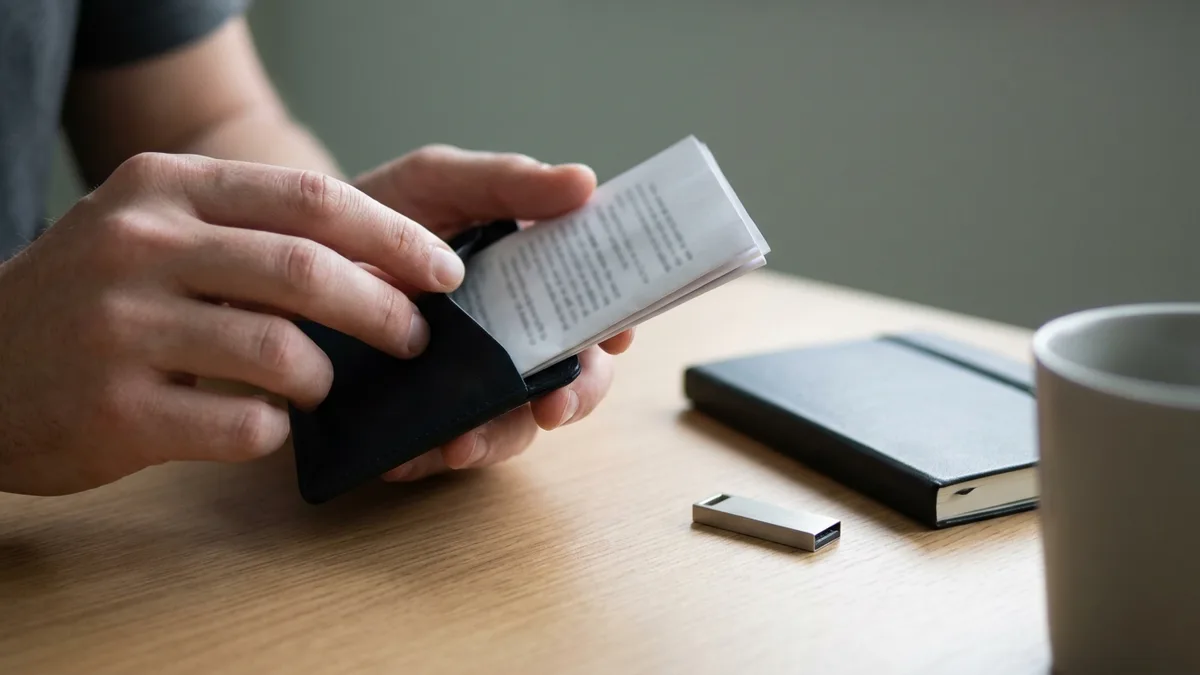
The first step to resolving this recovery-key loop is finding the proper BitLocker recovery key for your PC. This key is a unique 48-digit code that unlocks your encrypted drive. If you’re seeing the recovery prompt, BitLocker is asking for this key as a safety measure. Here’s where to find it and ensure it’s the right one for your computer (Microsoft’s official Find your BitLocker recovery key guide lists every place a copy may be saved):
- Microsoft Account: Use another device to sign in to your Microsoft account and access your BitLocker recovery keys (for example, via aka.ms/myrecoverykey). Find your PC in the list and compare its Recovery Key ID to the one displayed on your locked PC’s screen. When you spot a matching ID, use the corresponding 48-digit key to unlock your drive.
- Other locations: If the key isn’t in your Microsoft account, check any USB flash drive or printout where you may have saved it. For work or school laptops, the recovery key might be stored in your organization’s IT system (like Azure AD), so you may need to contact your IT administrator.
- Look at the recovery screen itself first. On Windows 11 version 24H2 and later, Microsoft says “the BitLocker recovery screen shows a hint of the Microsoft account associated with the recovery key” — so the screen in front of you may already be telling you which account to sign in to.
- Check even if you are certain you never saved a key. On many PCs BitLocker or Device Encryption switches itself on at the first Microsoft-account sign-in and uploads the key to that account without asking, so a key you never knowingly created is very often sitting there.
- If somebody else set the PC up, look in their account. Microsoft is explicit: “If the device was set up, or if BitLocker was turned on, by somebody else, the recovery key might be stored in that person’s Microsoft account.” That covers a shop, an employer, or the family member who did the setup.
Without the correct recovery key, you cannot access your computer at all. Once you’ve entered the right key and unlocked the PC, you can move on to fixing the underlying issue so the repeated prompt doesn’t happen again.
What Causes BitLocker to Keep Asking for the Recovery Key?
Many users wonder why they got stuck with BitLocker suddenly asking for the key. BitLocker isn’t trying to annoy you – it’s trying to protect your data. Normally, it will unlock your drive automatically at startup using the Trusted Platform Module (TPM) if everything is in order. If it keeps asking for the key on each boot, something in the system’s environment changed, and BitLocker doesn’t trust the integrity of the platform. Common triggers include:
- BIOS/UEFI configuration changes: For example, disabling the TPM, toggling Secure Boot, changing the boot mode (UEFI/Legacy), or other firmware setting tweaks – these can trigger the repeated recovery prompt.
- Hardware changes or resets: Replacing or removing hardware (like the motherboard or hard disk), clearing the TPM, or even attaching new peripherals (such as a dock or USB device that alters the boot sequence) – these can also leave you stuck at the recovery screen.
Identifying what might have changed helps you address this recovery-key loop in the next step.
How Do I Stop BitLocker From Asking for the Key Every Boot?
Before you change anything in the BIOS, have your 48-digit recovery key where you can read it — on your phone, on paper, or open on another computer. All three steps below change the firmware state that BitLocker checks at every boot, and Microsoft’s own list of events that put a PC into BitLocker recovery includes “Turning off, disabling, deactivating, or clearing the TPM”, “Changes to the boot manager” and, on devices with TPM 1.2, “changing the BIOS or firmware boot device order”. Microsoft’s own way to avoid that is to pause BitLocker first: “For planned scenarios, such as a known hardware or firmware upgrades, initiating recovery can be avoided by temporarily suspending BitLocker protection.” So if you can still get into Windows, suspend BitLocker before you enter the BIOS — the next section shows how — and resume it when you are done. If you cannot get into Windows at all, do not start changing settings until the key is in your hand.
Enable the TPM in BIOS
Reboot into your BIOS/UEFI setup (press F2, Del, or another key at startup) and make sure the TPM (security chip) is enabled/active. If it was off, BitLocker couldn’t verify the system, so turn it on and then Save and Restart your PC. Only do this with your recovery key to hand. Microsoft lists “Turning off, disabling, deactivating, or clearing the TPM” among the events that send a PC into BitLocker recovery, and some firmware offers to clear the TPM in the same menu.Restore BIOS Defaults
If you suspect a BIOS setting caused the issue, load the default BIOS/UEFI settings. On most machines this re-enables the standard security options (TPM and Secure Boot) and puts the system back into UEFI mode — but defaults vary by manufacturer, so check that TPM and Secure Boot really are on before you save. Loading defaults changes several firmware settings at once, including the boot order, so have your recovery key to hand before you do it. Reverting to defaults often clears any configuration BitLocker found suspicious.Check Boot Order and Devices
Make sure your hard drive is first in the boot order (or at least comes before any USB/DVD). Also, disconnect any external drives before booting. Removing unexpected boot devices ensures BitLocker isn’t startled by new hardware in the boot path.
After making these adjustments, restart your computer. For most people, these fixes resolve the repeated recovery prompt. In most cases, BitLocker will no longer prompt for the key because the system configuration is back to normal, ending the recovery-key loop for good. If you still get the recovery prompt, move on to re-seal BitLocker in the next step.
Re-Seal BitLocker to Current Configuration
The final step to end this recovery-key loop is to re-seal BitLocker with your current system setup so that it treats this configuration as the trusted state. To do this, suspend and then resume BitLocker protection on your operating system drive. In Windows, open your BitLocker management settings (Control Panel or Windows Settings) and click Suspend protection for the C: drive. Confirm the action – this temporarily turns off BitLocker (no key will be required on the next boot). Now, restart your PC. It should boot up without asking for the recovery key. Once you’re back in Windows, go to BitLocker settings again and Resume protection on the drive. This forces BitLocker to take a fresh record of your system’s current state and seal the encryption key to it. Going forward, as long as that state doesn’t change, BitLocker shouldn’t keep asking for the key on startup. Two things Windows does not make obvious. First, while BitLocker is suspended your drive is not protected. Microsoft’s own description of the command behind that button is blunt: it “Disables protection, which will allow anyone to access encrypted data by making the encryption key available unsecured on drive.” So suspend it for the job in front of you and resume the moment you are finished — not overnight, and not on a laptop you are carrying around. Second, protection normally comes back by itself: “If suspended, BitLocker automatically resumes protection when the device is rebooted, unless a reboot count is specified.” One restart is usually enough. If the job needs more than one — a BIOS update often does — open Command Prompt as an administrator and suspend with a count instead: manage-bde -protectors -disable C: -RebootCount 3, or -RebootCount 0 to leave it suspended until you resume it yourself.
If You Don’t Have the Key – What Next?
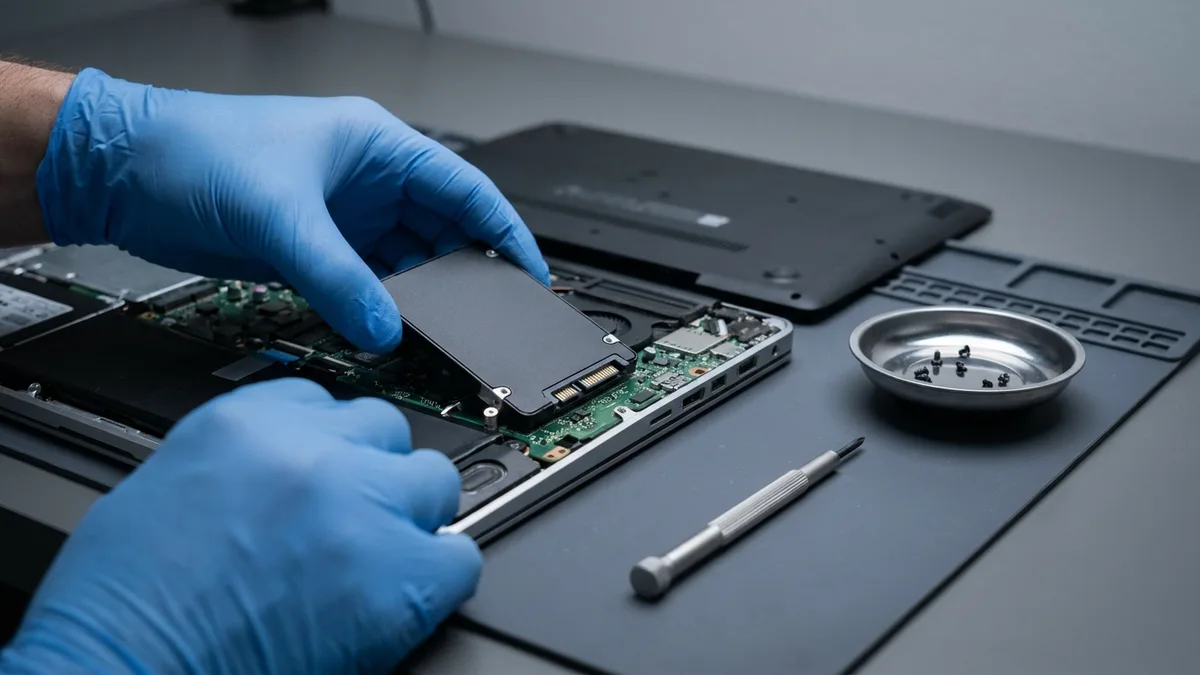
But what if you simply cannot find your BitLocker recovery key? In that case, this situation has no easy way out. The encrypted data on the drive will remain inaccessible (even Microsoft support can’t recover a lost BitLocker key). Your only option to use the PC again is to reset or reinstall Windows, which will wipe the drive and erase all the encrypted data.
At this point it is worth getting a second pair of hands. Bring the machine to Esmond Service Centre at either of our two branches, Alexandra or Sin Ming — the evaluation is free and you get a fixed quote before anything is done. We will be straight with you about what is and is not possible: nobody can decrypt a BitLocker drive without the key, and any shop that tells you otherwise is not telling you the truth. What we can do is check every place the key could still be, get Windows running again on the machine, and — where a second drive or an old backup is involved — take that through our data recovery lab. After going through a scare like this, you’ll definitely want to save your BitLocker recovery key in multiple safe places to avoid such emergencies down the line.
BitLocker Asking for Key Stuck: Quick Fixes Every User Can Try
In summary, to fix a bitlocker asking for key stuck situation you should find and use your correct recovery key, address the system changes that triggered BitLocker (such as BIOS or hardware alterations), and then re-seal BitLocker by suspending and resuming protection. Following these steps will stop BitLocker from prompting for the key on every boot, ending the bitlocker asking for key stuck loop for good.
To prevent this issue in the future, always keep your BitLocker recovery key backed up in safe locations (for example, in your Microsoft account and on a printed copy). If you plan to make major changes to your PC’s hardware or firmware, suspend BitLocker first so it won’t panic and ask for the key. And of course, maintain regular file backups so that even if something goes wrong, your important data remains safe.
Don’t panic if you encounter a dreaded BitLocker recovery screen – it’s solvable with the right approach. If you’ve tried everything and still can’t get past the recovery prompt, consider reaching out to a professional for help.
Stay Connected
Follow Esmond Service Centre on Facebook page, LinkedIn profile or Instagram account for repair notes and Windows changes worth knowing about before they lock you out.

Esmond Service Centre's experienced technicians can diagnose and fix it fast — free diagnostics, repairs from $65.