📑 On this page
Seeing an iMac line on screen can be alarming, but you’re not alone—many users have faced this issue in recent years. As a professional Apple technician at Esmond Service Centre (one of Singapore’s largest and most trusted IT repair providers), We’ve helped numerous clients resolve frustrating display line problems on their iMacs. In this guide, I’ll draw on our experience and recent user reports to explain why these lines appear and how to fix them. You’ll learn step-by-step troubleshooting tips and solutions, from quick software checks to understanding when a hardware repair is needed. Rest assured, this article is backed by credible sources and real-world expertise, so you can confidently tackle the iMac line on screen issue and restore your Mac’s display clarity.
Why Does a Line Appear on an iMac Screen?
In most cases, an iMac line on screen is caused by a hardware defect in the display itself—especially with the 24-inch models where overheating cables or failing LCD panels are common. The most reliable solution is often a screen replacement. However, before spending on repairs, it’s worth trying a few DIY troubleshooting steps. These can sometimes fix software-related glitches or help you confirm if the problem is hardware.
| Likely Cause | What You Can Try First |
|---|---|
| Faulty LCD panel or overheating display cable | Lower brightness temporarily to reduce stress; if persistent, screen replacement is required |
| macOS software glitch or driver issue | Restart in Safe Mode, update macOS, or reset PRAM/NVRAM |
| GPU or logic board failure | Connect to an external monitor – if lines appear there too, it’s a GPU issue |
| Loose display cable or connector | Test with external monitor; if only the iMac screen shows lines, cable/screen hardware is suspect |
| Overheating during heavy tasks | Ensure proper ventilation, clean vents, or use fan control apps |
Diagnose the Cause of the iMac Line on Screen Issue
Before jumping into fixes, it’s crucial to identify whether your iMac line on screen is caused by a software glitch or a hardware problem. Proper diagnosis will save time and prevent unnecessary repairs. Here are some steps to pinpoint the cause:
- Restart and Observe: Begin by restarting your iMac. If the line or lines appear immediately even on the gray boot screen or Apple logo, it suggests a hardware issue. If they only show up once macOS loads or during certain tasks, a software issue might be at play. Sometimes a simple reboot can clear minor glitches.
- Safe Mode Test: Boot your iMac in Safe Mode (by holding Shift during startup). Safe Mode runs only essential system processes. If the display looks normal in Safe Mode but lines return in normal boot, some third-party software or driver may be causing it. You should consider uninstalling any recently added apps or extensions that could affect the display.
- Screenshot Trick: Take a screenshot of your screen (Command + Shift + 3) and examine the image on a different device. If the captured screenshot does not show the line, your graphics output is actually fine and the problem is likely hardware (the display or cable), since the artifact wasn’t recorded digitally. If the line does appear in the screenshot, it means the glitch is being rendered by the system (software or GPU issue). This is a handy clue for distinguishing between physical and software causes.
- External Display Check: Connect your iMac to an external monitor or TV. If the external display shows the image perfectly with no lines, then your iMac’s internal screen or its connection is the culprit. If the same line or distortion appears on the external monitor as well, the graphics chip (GPU) or logic board is likely at fault. In other words, lines only on the iMac’s own screen = screen hardware issue, while lines replicated on external display = deeper graphics hardware issue. This test is a reliable way to narrow down the origin of the problem.
- Run Apple Diagnostics: Apple’s built-in hardware test (restart and hold D on Intel iMacs, or press Power on Apple Silicon iMacs then press Command + D) can help identify certain hardware errors (see the official Apple Diagnostics guide). The tool will report any issues it finds (for example, a reference code for GPU or display failure). Note that not all faults are detected, but an error code can confirm a hardware problem. If diagnostics return an all-clear yet you still see lines, don’t assume your iMac is fine—some hardware issues simply don’t show up on the test.
By completing the steps above, you can confidently determine if the iMac line on screen is due to a software anomaly or a hardware defect. This diagnosis is important because it guides the next course of action. For instance, a software-caused line can often be fixed with settings or updates, whereas a hardware-caused line might require repair or part replacement.
Software Fixes for Lines on an iMac Screen
If your investigation suggests the issue is software-related (for example, the line appeared in screenshots or only under certain apps), you can try several remedies before considering any hardware repair. Below are some software fixes to resolve an iMac line on screen caused by system glitches or conflicts:
- Update or Reinstall macOS: Outdated or corrupted graphics drivers within macOS can cause display anomalies. Check System Settings > General > Software Update and install any available updates. Apple sometimes issues patches that resolve graphics issues. In some cases, performing a macOS reinstall (boot into Recovery Mode and reinstall) can clear up persistent glitches. Always back up your data before reinstalling. This ensures any software bug causing the line is eliminated.
- Reset NVRAM/PRAM: On Intel-based iMacs, resetting the NVRAM (non-volatile memory) can help if the line is related to display resolution, color profiles, or other settings stored in memory. To do this, shut down your iMac and then start it up while holding Option + Command + P + R keys for about 20 seconds. This resets certain low-level settings (like display configurations) to defaults. For Apple Silicon iMacs (M1/M3/M4 chips), NVRAM resets differently – simply restarting the machine effectively clears NVRAM, since the new architecture reloads defaults on boot. There is no manual SMC reset needed on Apple Silicon, but on older Intel iMacs you can also reset the SMC (System Management Controller) by disconnecting power for 15 seconds. These resets can fix random visual glitches by restoring hardware settings to default.
- Check Display Settings: Sometimes an incorrect resolution or refresh rate can cause flicker or lines. Go to System Settings > Displays and ensure the resolution is set to “Default for display” and refresh rate is correct for your iMac. If you recently changed calibration profiles or used a third-party screen adjustment tool, reset those to default. This ensures the line isn’t a byproduct of a misconfiguration.
- Look for Software Conflicts: Think about any new software installed around the time the line appeared. Utilities that modify graphics (e.g. screen recorders, virtualization software, or certain accessibility apps) could conflict with the display. Try closing all apps and see if the line disappears. You can also create a new user account on your Mac and log in to see if the line persists; if not, the issue might be something running only under your original account. Removing or updating conflicting apps can resolve such issues.
- Graphics Intensive Tasks: If the line shows up only during heavy GPU usage (for example, 3D games or video editing), the software may be pushing the graphics chip hard. Check if the iMac meets the app’s requirements. In some cases, lowering graphics settings in the app can prevent the issue. Also consider resetting VRAM usage by shutting down the app or restarting the computer. This is more of a temporary workaround, and if high GPU load consistently produces lines, it could be a sign of underlying hardware thermal stress (addressed in the next section).
These software-focused solutions often resolve an iMac line on screen when the root cause is non-hardware. For instance, a user in the Apple forums fixed screen glitches by simply updating macOS, as the latest update optimized the display driver. Resetting NVRAM is another quick fix that often works because it clears any corrupted display settings in memory, effectively “refreshing” how your Mac drives the screen. However, if you’ve tried all the above and that stubborn line remains, it’s time to consider hardware-related causes.
How Do You Fix iMac Screen Lines From Overheating or Graphics Card Issues?
Overheating is a common cause of visual artifacts like horizontal or vertical lines on a Mac’s screen. iMacs, especially older ones with dedicated graphics cards, can exhibit lines or flickering when the GPU (graphics processor) gets too hot. Here’s how to tackle potential thermal and GPU-related causes of the iMac line on screen:
- Ensure Proper Ventilation: iMacs dissipate heat through vents (usually along the back and bottom edge). Make sure your iMac’s vents aren’t blocked by dust or positioned against a wall. Use a soft brush or compressed air to gently clear out any dust from the vent openings. Over time, dust buildup can cause poor airflow, leading to overheating. Keeping the area around your iMac cool and ventilated can prevent heat-related screen issues.
- Monitor Temperatures: It’s wise to monitor your iMac’s internal temperatures. You can use a tool like iStat Menus or any temperature monitoring app to check CPU and GPU temperatures. If you notice the iMac running extremely hot (for example, GPU temperatures nearing 90–100°C), that’s a red flag. High temperatures can cause the graphics chip to malfunction temporarily, showing lines. If possible, quit any intensive tasks and let the iMac cool down. In one user’s report, a Mac’s screen lines were resolved by using a fan control app to keep the device cooler.
- Clean or Service the Cooling System: If your iMac is a few years old, the internal fans or heatsinks might be dirty. Fans that run loudly or at max speed even under light load indicate dust or aging thermal paste could be an issue. Consider having the iMac’s cooling system cleaned and thermal paste reapplied by a professional. This can dramatically improve heat dissipation. Why this helps: Overheating can cause not only temporary glitches but also long-term damage to the GPU or display cable. Keeping temperatures in check ensures stable performance.
- Test Graphics in a Cool State: As a diagnostic step, shut down the iMac and let it sit for 30 minutes to cool. Then start it up and use it normally. If the line on screen does not appear immediately after a cold start but only comes back once the machine heats up, it strongly indicates a heat-related or GPU issue. At that point, focus on cooling solutions or get the GPU evaluated.
- Software Updates for GPU Drivers: As mentioned earlier, ensure macOS is updated. Apple includes graphics driver fixes in macOS updates that can help prevent GPU overheating or misbehavior. While this is more of a software angle, it directly affects how the hardware runs under load.
By addressing overheating, you tackle one of the root causes of intermittent iMac screen lines. An adequately cooled iMac will run more reliably. In fact, many cases of sudden lines or artifacts are resolved by something as simple as cleaning dust from the fans or keeping the room cooler, underscoring that thermal management is key. If your iMac’s lines persist even after solving any cooling issues, then the hardware itself might have suffered a fault, which we’ll cover next.
Fixing Loose Connections or Defective Display Hardware
If you’ve determined the issue is hardware-related (for example, the line shows even on the blank boot screen, or only the internal display is affected while an external monitor is fine), the next step is to focus on the iMac’s physical components. A line on the screen often points to either a loose/bad cable connection or a defective LCD panel or graphics card. Here’s what you need to know:
- Internal Cable or Connector Issues: Inside the iMac, a display cable (or cables) connects the LCD panel to the logic board. If this cable is loose or damaged, it can cause lines or flickering. In some older iMac models, the vertical lines issue was attributed to failing display cable connections or bonds. For instance, technicians found that applying slight pressure on the screen’s edge temporarily made vertical lines disappear, indicating a loose tab bond in the LCD. Reseating or replacing the display cables can sometimes fix such problems, but this requires opening the iMac, which should be done by an expert due to the delicate glass and tightly packed components.
- Known iMac 24″ (M1 2021) Screen Line Defect: Recently, a flood of user reports has surfaced about horizontal lines permanently appearing on the 24-inch M1 iMac’s display after ~2 years of use. Apple hasn’t officially recalled this, but evidence suggests a hardware design flaw. Technicians discovered that a flex cable in the display carries high voltage (around 50V at full brightness) and tends to overheat and burn out over time, causing short-circuits that produce black horizontal lines. Unfortunately, the only reliable fix for this issue is to replace the entire display assembly, because the cable is bonded to the screen. Apple Support has generally told affected users that an LCD replacement is the solution. However, replacing the screen is costly (often on the order of US $600–$700 for the 24″ iMac), and if the underlying design hasn’t changed, the problem could recur in a couple of years. This is understandably frustrating for users. (On a positive note, a few persistent customers reported that Apple granted them free out-of-warranty repairs as a one-time exception after they escalated the issue with senior support, given it appears to be a manufacturing defect.)
- Graphics Card or Logic Board Failure: If lines appear even on an external monitor, the problem likely lies in the iMac’s graphics card or logic board. On older 27-inch iMacs with discrete GPUs, it was not uncommon for the GPU to fail and show visual artifacts or lines. In such cases, the fix could be a logic board replacement or GPU reflow/replacement. Running Apple Diagnostics can sometimes confirm this (e.g., giving a GPU error code). This level of repair is complex and usually needs a skilled technician or Apple’s repair service.
- Physical Screen Damage: Though less subtle, any physical damage to the screen (even if you don’t see a crack) can cause lines. A hard jolt or aging LCD could lead to internal damage that shows up as lines. If you suspect this (for example, the lines appeared after an impact), then screen replacement is the only remedy.
Why these solutions work: If the issue is a loose connection, properly reconnecting or replacing the cable restores the full signal to the display, eliminating the line. If the LCD panel is at fault (due to a burned-out connector or failed circuitry), a new panel is the clear solution since it replaces the faulty component entirely. In cases of GPU failure, repairing or replacing the logic board resolves the underlying processing errors that manifest as lines on the screen. Essentially, once the defective part is fixed or replaced, the iMac line on screen should disappear because the hardware can once again output a clean, normal image. Given the complexity of iMac internals, these fixes should be performed by professionals equipped with the right tools and parts.
Next Steps: Professional Help and Prevention
After trying the above steps, you may find that the line on your iMac’s screen persists or the fix is beyond what you feel comfortable doing. Don’t worry—at this stage, seeking professional help is wise. Complex hardware issues often require specialized expertise and tools to fix. Any problems that require hardware repair have to go back to Apple or to a certified technician who can work on these difficult-to-repair machines. Here’s what to consider next:
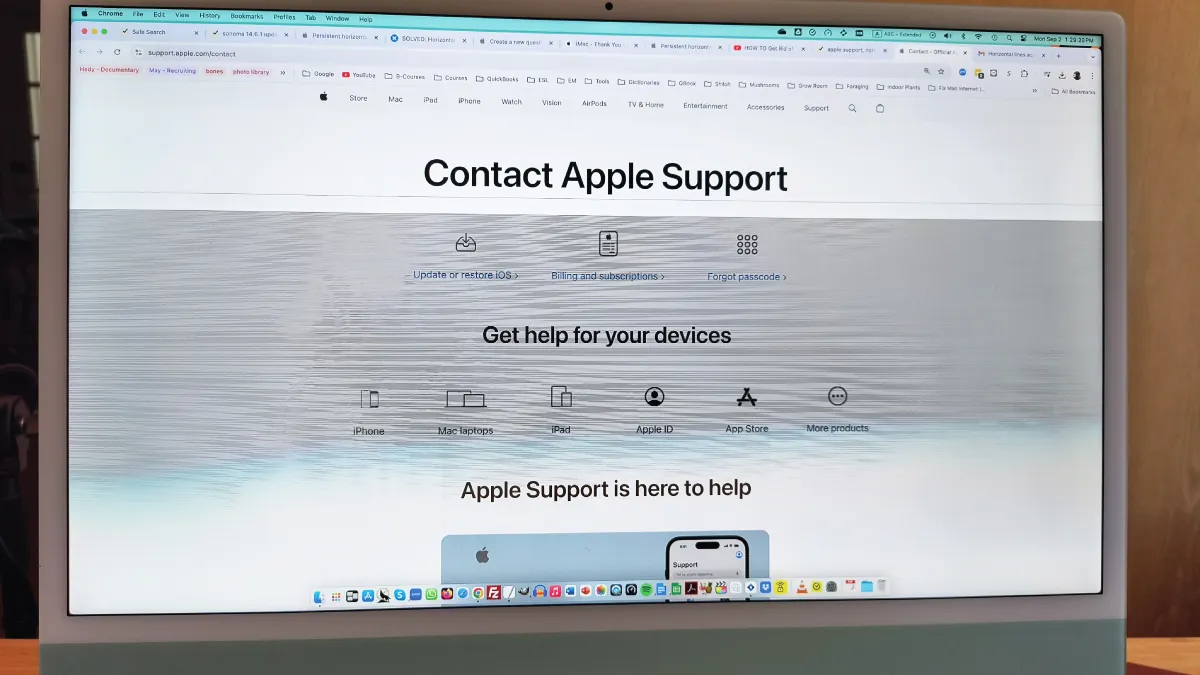
- Contact Apple or Authorized Service Providers: If your iMac is still under warranty or AppleCare, reach out to Apple Support. They will typically run their own diagnostics and, if it’s a hardware defect, perform a repair (often a screen or board replacement). Even if you’re just out of warranty, it’s worth contacting Apple politely – as noted earlier, some users have received courtesy repairs for the widespread line issue by explaining the situation. It never hurts to ask, especially if there are known issues with that model.
- Esmond Service Centre Consultation: For those in Singapore or if you prefer personal service, Esmond Service Centre offers professional iMac diagnostics and repair. As an Apple Independent Repair Provider, our experienced technicians can accurately diagnose whether your iMac line on screen stems from a bad display panel, faulty cable, or graphics card issue, and advise the best fix. We use genuine or high-quality replacement parts to ensure the problem is resolved effectively. For the 24-inch iMac, our professional screen replacement is S$648, with a free diagnosis first so you only pay for what is truly needed. A professional consultation will give you a clear understanding of the repair cost and whether it’s worth proceeding—important since, for example, a major screen replacement can be pricey.
- Data Backup Before Repair: Whether you go to Apple or a third-party repair service, always back up your data first. Repairs involving the screen or logic board shouldn’t affect your data, but it’s good practice to have a Time Machine backup or iCloud backup in case the iMac needs to be reinstalled or replaced.
- Preventive Measures: To avoid future instances of lines on the screen, take care of your iMac’s environment. Keep the machine in a cool, well-ventilated area to prevent heat stress. Clean out dust every so often (either professionally or using safe methods) to maintain airflow. If you have a 2021 M1 iMac, consider running your display at slightly lower brightness when feasible; since higher brightness accelerates the flex cable wear as theorized, using 80% brightness might prolong the screen’s life. Also, install macOS updates when they are available, as Apple may release firmware tweaks or fan control improvements to mitigate known issues.
By following these steps and best practices, you not only address the current iMac line on screen problem but also reduce the chances of it returning. Remember that help is readily available—display lines are a well-known issue, and experts have seen it all. In our experience at Esmond Service Centre, most iMac screen issues can be solved either through the troubleshooting steps above or with a targeted hardware repair. You don’t have to live with that annoying line across your display.
Solving the iMac Line on Screen Issue: Key Takeaways
Dealing with an iMac line on screen can be frustrating, but as we’ve seen, there are clear steps you can take to diagnose and fix the problem. Key takeaways: First, figure out if it’s a software glitch or a hardware defect by using tools like Safe Mode, screenshots, and external monitors. Next, apply software solutions such as system updates and resets for any fixable glitches. If that doesn’t help, address potential overheating – something as simple as cleaning vents or adjusting fan settings can sometimes banish those screen lines.
For persistent lines likely caused by hardware, understand that a component (screen cable, LCD panel, or GPU) may need repair or replacement, and don’t hesitate to get a professional involved. Many iMac owners have successfully restored their screens by either DIY troubleshooting or seeking timely expert help. We hope these tips empower you to confidently tackle the issue. If you have questions or your own experiences to share about iMac screen lines, please drop a comment below – your story might help other readers. Remember, staying proactive with maintenance and seeking help when needed will keep your iMac display crisp and line-free for years to come.
Your Tech Solutions Partner – Stay Connected!
Enjoyed this comprehensive troubleshooting guide? Follow our FaceBook page, Linkedin profile or Instagram account for more expert insights and practical tips on cutting-edge technology. We regularly share helpful guides like this to make your tech life easier. And if the iMac line on screen issue (or any other tech problem) still bothers you, feel free to contact Esmond Service Centre for a professional consultation. Our team is here to help you get the most out of your devices with friendly, expert service.
Esmond Service Centre's experienced technicians can diagnose and fix it fast — free diagnostics, repairs from $65.