
📑 On this page
Laptop data recovery is a crucial skill in today’s digital world. Whether you’ve accidentally deleted important files or faced a sudden drive failure, you’re not alone – data loss impacts millions of people each year. This guide will walk you through practical steps to perform laptop data recovery and prevent future mishaps. Drawing on expert insights (including those from the laptop data recovery specialists at Esmond Service Centre), we’ll cover common causes of data loss, DIY recovery methods, and when to seek professional help. By the end, you’ll know how to retrieve your files and protect your valuable data.
Common Causes of Laptop Data Loss
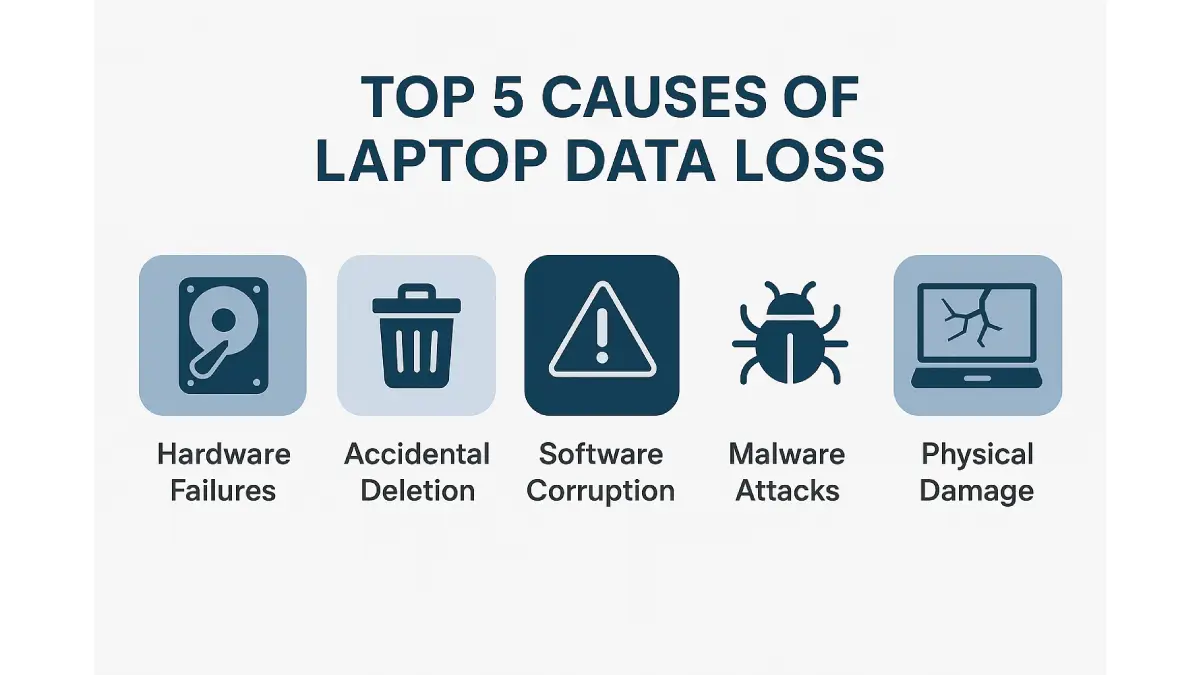
Understanding why data loss happens is the first step in preventing it. There are several common causes of laptop data loss:
- Hardware Failures and Physical Damage: Hard drive crashes or SSD failures can occur without warning due to aging components, overheating, or physical impact. Hardware failure is among the most common causes of data loss. Physical damage – such as dropping your laptop or spilling liquid – can render a drive unreadable.
- Human Error (Accidental Deletion or Formatting): Mistakes happen. You might delete the wrong folder or accidentally format a partition, instantly losing data. Human error — accidental deletion, formatting the wrong drive, or working without a backup — is also one of the most common causes.
- Software Corruption and System Crashes: Operating system crashes, file system corruption, or even malware attacks can scramble or delete data on your drive. These are logical failures — one of the two broad categories of data loss, alongside physical failures such as damaged or failing hardware. Malicious programs like viruses or ransomware can similarly wreak havoc on your files.
Being aware of these scenarios can help you take precautions (discussed later). But if you’re already facing data loss, read on for a step-by-step laptop data recovery guide.
Step-by-Step Guide to Recovering Laptop Data
If you’ve encountered data loss on your laptop, stay calm. A successful laptop data recovery often starts with quick action – follow these steps to maximize your chances of recovery:
- Stop Using the Affected Drive Immediately — and Shut the Laptop Down: The moment you realize important data is missing, stop saving files and installing software on that drive. If the missing files were on the drive your laptop starts from, go further and shut the machine down: Windows and macOS write to that drive constantly on their own — updates, logs, search indexing, the paging file — so “not using it” is not the same as not writing to it. Any write can overwrite the deleted data and make it unrecoverable, so the sooner the drive stops turning, the better your odds.
- Check the Recycle Bin (or Trash): This is the quickest win for accidentally deleted files. On Windows, deleted files usually go to the Recycle Bin, which is the first place you should look. Open the Bin, search for your file, and if found, right-click and Restore it to its original location. On macOS, similarly check the Trash can. Many times, “lost” files are just a drag-and-drop away from being recovered if they haven’t been permanently emptied.
- Restore from Backups (File History, Time Machine, etc.): If you have any backups available, now is the time to use them. On Windows you can restore files with File History or "Restore previous versions", and Mac users can recover from Time Machine. Having backups turns a potential crisis into a quick restore.
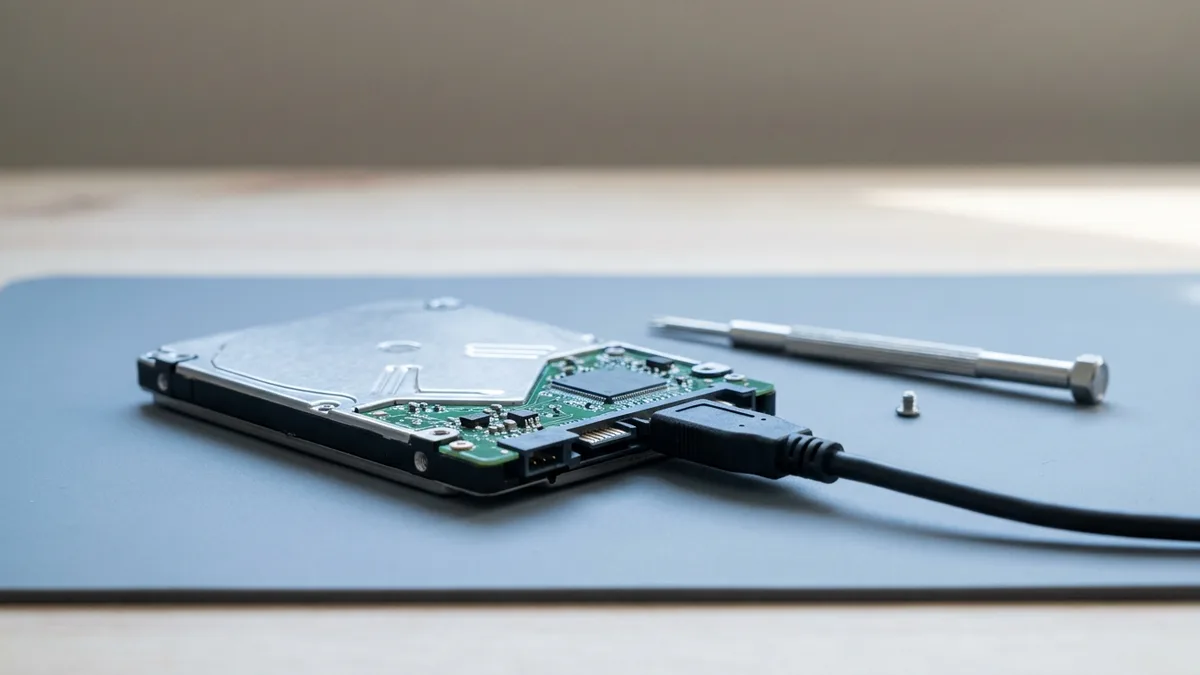
- Try Data Recovery Software — but only on a healthy drive, and never from the drive itself: First make sure the drive is not physically failing. If it is clicking, grinding, not being detected, or was dropped or exposed to liquid, do not run recovery software on it, and don't let Windows "Scan and repair" it — skip straight to professional help below, because forcing a mechanically failing drive to keep working can destroy the very data you are trying to save. If the drive is healthy, know first what the software can realistically get back: on a modern SSD a deleted file is usually erased by the drive within seconds, so this step works far better on an older laptop with a hard disk than on a current one — the next section explains why, and what is still recoverable on an SSD. Then mind where you run it from. Most laptops have exactly one drive, so you cannot simply install the tool “on another drive”: instead, either shut the laptop down and connect its drive to a second computer using a USB adapter or enclosure, or run the tool from a USB stick prepared on another machine. Either way, save anything you recover to a separate drive — never the one you are recovering from, since writing to the source drive can overwrite the very files you are trying to save. Established tools include Recuva, EaseUS Data Recovery Wizard and PhotoRec; get them by typing the developer's own address yourself rather than searching, because “data recovery software” is a heavily impersonated search term. If the software can't find your data or the drive isn't accessible, it's time to move on to professional help.
- Evaluate the Results: After using DIY methods, assess what you’ve recovered. If you succeeded in retrieving your lost files, immediately back them up to another device or cloud storage. If you’re still missing data or the drive is inaccessible, it’s time to consider the next step in your laptop data recovery – seeking professional help.
What Laptop Data Recovery Can and Cannot Get Back
Most recovery advice quietly assumes two things: a spinning hard disk, and a drive anyone can read. Laptops sold in the last decade usually have neither. Which situation you are in decides whether an evening of DIY is worth attempting at all — and it is the part that normally gets left out.
- A file you deleted from an SSD — often already gone. Microsoft describes the delete notification, better known as TRIM, as a feature that “notifies the underlying storage device of clusters that have been freed due to a file delete operation”, and states that on NTFS “trim is enabled by default” (Microsoft, fsutil behavior). The drive then erases those blocks, usually within seconds, so undelete software can come back empty even if you stopped touching the laptop the moment you noticed. The recovery lab Ontrack says the same from the bench: TRIM “does make data recovery from SSDs more challenging for purely logical recovery types such as Deleted Data”. The useful exception: Ontrack also notes that “trimming typically doesn't happen after a power failure, software error, file system corruption or many other common causes of data loss” (Ontrack, SSD recovery guide) — so a crash, a corrupted file system, a formatted partition or a drive that stopped being detected is a very different case from a file you deleted yourself, and a far more recoverable one.
- An encrypted drive without its key — unreadable to anyone, a lab included. Windows switches this on by itself. Microsoft states that Device Encryption “is available on all Windows versions” and that, unlike a manual BitLocker setup, “device encryption is enabled automatically so that the device is always protected”, with the recovery key uploaded to the Microsoft account used to sign in (Microsoft, BitLocker overview). Defeating precisely this — “transferring the device's hard drive to a different device” — is what the feature is for, so moving the drive to another computer needs that key. Macs are stricter again: Apple states that “without valid login credentials or a cryptographic recovery key, the internal APFS volumes remain encrypted and are protected from unauthorised access even if the physical storage device is removed and connected to another computer”, and that on a Mac with Apple silicon or the T2 chip the volume “is still encrypted” even when FileVault was never switched on (Apple Platform Security). So find the recovery key first — on Windows, sign in to your Microsoft account from a phone or another computer and look it up before anyone opens the machine.
- A soldered SSD in a laptop that will not power on. On many thin laptops the storage is soldered to the mainboard, so there is no drive to remove and nothing to plug into a second computer; if the board itself is dead, the files are behind it and the job becomes chip-level work rather than software. Our guide to soldered SSD data recovery sets out what is and is not possible in that case.
- Files ransomware has already encrypted. Recovery software finds files; it does not decrypt them. Restoring a backup while the infection is still on the machine usually gets the backup encrypted too — clean the machine first, or restore onto a different one.
None of this is a reason not to ask — it is the reason to ask before you spend. A free evaluation tells you which of these situations you are actually in, and because we work on a no-data-no-fee basis, an honest “this one is gone” costs you nothing.
When Should You Seek Professional Laptop Data Recovery Help?
Not all data loss situations are safe or feasible to handle yourself. Professional laptop data recovery services can often rescue data in complex scenarios using advanced techniques. Here are some situations where you should seek expert help:
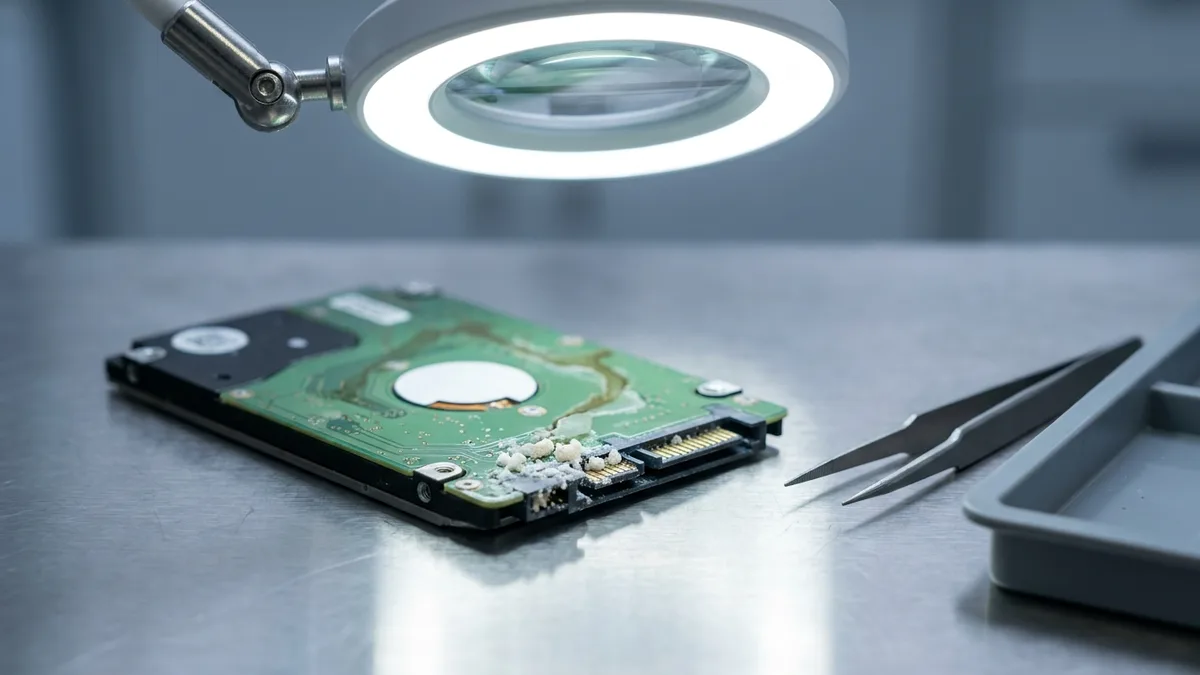
- Physical Damage or Unusual Noises: If your laptop's hard drive is making clicking, grinding, or whirring sounds, it likely indicates a hardware failure — often a head crash, where the read/write heads are contacting the platters. As the data-recovery lab Ontrack warns, "do not turn on your hard drive as you will most likely do more damage to the device and the data," so continuing to power it on — or running recovery software against it — only makes things worse. Shut the computer down and consult a professional, who can work on the drive with dedicated tools in a controlled lab environment to safely retrieve data from physically damaged disks.
- Water or Fire Damage: Laptops affected by liquid spills, floods, or fire are extremely delicate to handle. Do not power on a water-damaged drive — residual moisture on the circuit board can cause a short circuit — and do not try to dry it yourself. As the data-recovery lab Gillware advises, air-drying, a hair dryer, or a bowl of rice only lets corrosion set in; a lab would "rather receive a damp hard drive" than one you let dry out. Seal the drive in an air-tight bag and get it to a professional quickly — the sooner and the damper, the better your chances.
- Failed DIY Attempts: Tried the steps above and still coming up short? It’s time for expert help. Continuing to tinker with more DIY software or techniques after repeated failures can actually worsen the problem by overwriting recoverable data or causing further damage. A reputable data recovery service can assess the situation without jeopardizing your data any further.
When choosing a professional service, look for an experienced provider with a proper lab environment, non-destructive recovery methods, and transparent, upfront pricing. For instance, Esmond Service Centre's specialists recover data in a private, in-house lab using non-destructive methods; every job starts with a free evaluation and a fixed quote with no hidden charges before any work begins, and we work on a no-data-no-fee basis. Professional intervention can be the difference between permanently lost data and a successful recovery.
Preventing Future Laptop Data Loss
While no one can rewind time to stop an accident, you can certainly reduce the risk and impact of data loss going forward. Implement these best practices to protect your laptop data:
- Regular Backups are Essential: The best way to prevent permanent data loss is to maintain regular backups of your files. Keep at least one backup copy of important data on a separate device or cloud storage. Don’t wait until a laptop data recovery is needed – set up automatic backups so you’re not caught off guard.
- Use Antivirus and Keep Software Updated: Protect your laptop from viruses, malware, and ransomware by running reputable antivirus software and keeping your operating system and applications up to date. Security updates often patch vulnerabilities that could be exploited to corrupt or steal your data. Also, be cautious with email attachments and downloads – cyberattacks remain a major cause of data incidents.
- Enable File Recovery Features: Modern operating systems have built-in recovery tools (e.g. Windows File History or macOS Time Machine). Make sure these are enabled so that if you delete something by mistake, you can easily recover it from a backup or previous version.
By adopting the habits above, you’ll greatly minimize the chances of ever needing data recovery. Prevention is far better than any laptop data recovery cure when it comes to safeguarding documents, photos, and other priceless data.
Staying Ahead of Data Loss: Key Takeaways for Laptop Data Recovery
Key takeaway: Always have a backup plan – it's not a matter of if data loss will happen, but when. If a mishap does occur, follow the steps above to perform your own laptop data recovery (stop using the drive, check the Recycle Bin or backups, and try recovery software) and know when to call in the professionals. Remember, experts like the team at Esmond Service Centre are a call away — if you're unsure how to proceed, contact us for a free evaluation before you risk your data.
Get Professional Laptop Data Recovery Help & Stay Connected
Enjoyed this comprehensive laptop data recovery resource? Follow our Facebook page, LinkedIn profile or Instagram account for more expert insights and practical tips on cutting-edge technology. If you’re facing a difficult data loss situation, don’t hesitate to contact Esmond Service Centre for advice and professional laptop data recovery assistance.

Esmond Service Centre's experienced technicians can diagnose and fix it fast — free diagnostics, repairs from $65.