
📑 On this page
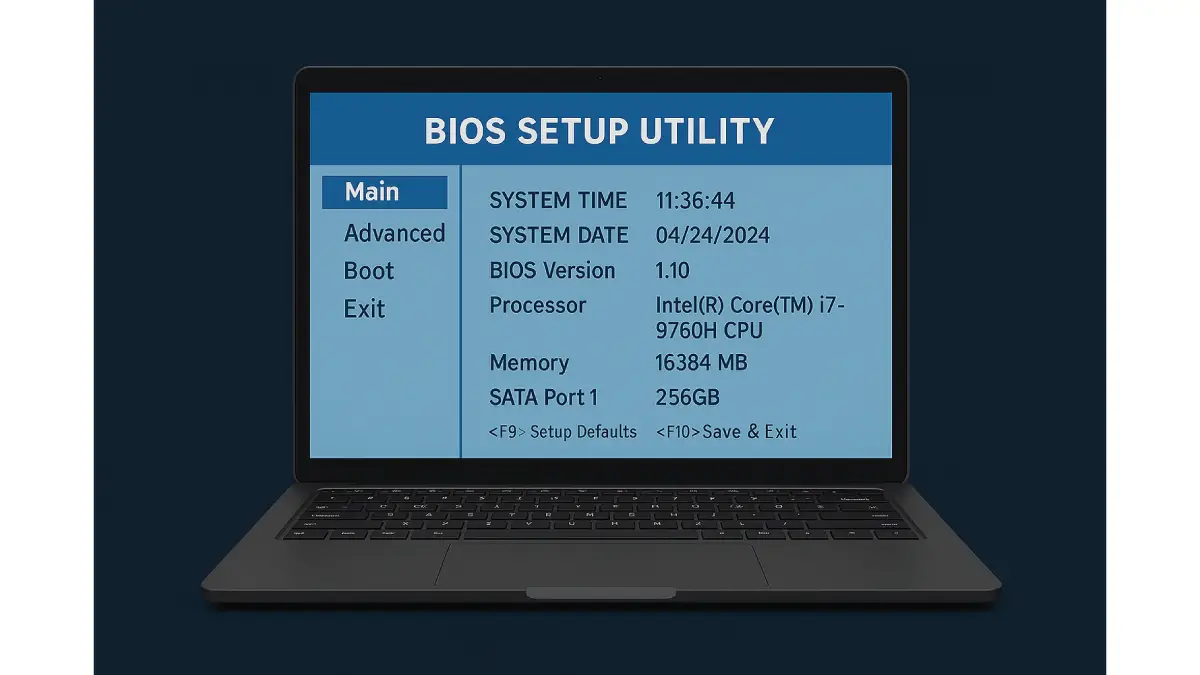
Being stuck on the BIOS screen is a frustrating place to be – your computer powers on but gets stuck in the firmware (BIOS/UEFI) interface or logo, never loading Windows. This problem can happen on any PC or laptop, and it typically points to an underlying hardware or configuration issue. In this comprehensive guide, we’ll explain why a PC stops there and walk you through effective DIY troubleshooting steps to resolve it.
Our goal is to save you time and stress by helping you fix the issue yourself if possible, and to know when to seek professional help. With over 16 years of IT repair experience, Esmond Service Centre (ESC) has encountered countless “stuck on BIOS” cases – our experts share proven solutions and insights below.
First, Confirm the PC Is Really Stuck at BIOS
Before you change a single setting, spend five seconds finding out which failure you actually have — because the two look almost identical on screen and the repairs are nothing alike. Microsoft publishes a free test for this in its Windows startup issues troubleshooting guide, and it needs no tools and no software.
- Press the Num Lock key. Microsoft's instruction is to "press the NumLock key to see whether the indicator light toggles on and off. If it doesn't toggle, this dysfunction indicates that the startup process is stuck at the BIOS phase."
- Look at the drive-activity light. Microsoft again: "check whether the hard disk drive light on the physical computer is working. If it's not working, this dysfunction indicates that the startup process is stuck at the BIOS phase."
- Disconnect every external device first, which is step 1 of Microsoft's own test — a single faulty USB device can stall the firmware before it ever reaches your drive.
If neither light responds, you are genuinely stuck at the firmware stage, and Microsoft is blunt about what that means: "If the system is stuck at the BIOS phase, there might be a hardware issue." Treat it as hardware from the start — the RAM and drive checks further down this page are the ones worth your time, not the settings tweaks.
If the lights do respond but you are looking at a black screen with a blinking cursor, or a message such as Boot Configuration Data (BCD) missing or corrupted, then you are past BIOS and into what Microsoft calls the boot loader phase. That is a software fault, not a dead board, and it is repaired differently — see Windows OS repair, which Esmond Service Centre publishes at $65 for a reinstall with all drivers installed. Knowing which of the two you have is the difference between a $65 job and a board-level one.
Check External Devices and Connections
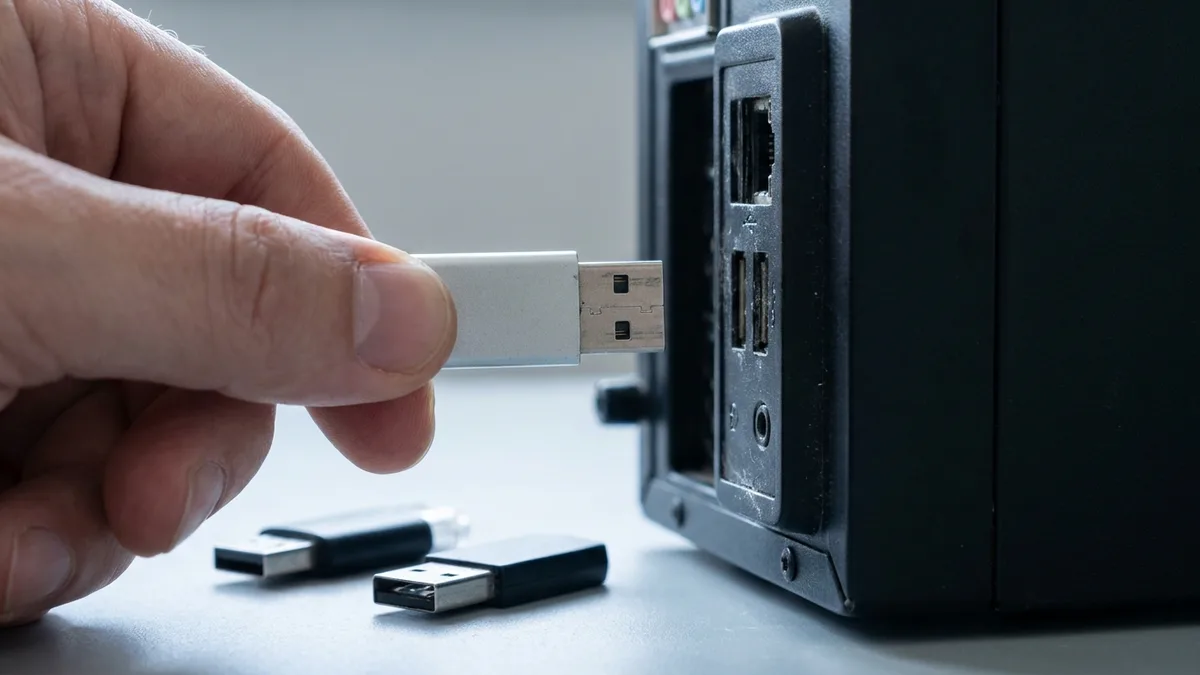
One common cause of a PC halting at this stage is peripheral or hardware conflicts. External devices (USB drives, printers, external hard disks, etc.) and loosely connected internal components can interfere with the boot sequence. In fact, peripherals like a mouse, keyboard, or USB drive have been known to stall a boot this way by conflicting with system initialization. Similarly, if components like RAM or the graphics card are not firmly seated, the motherboard might halt at BIOS.
Steps to Try:
- Power Off and Unplug: Shut down the PC and disconnect the power cable. Remove all external devices except the keyboard and monitor.
- Inspect Connections: Open the computer case (for desktops) and gently check that RAM modules, GPU, and storage cables (SATA/Power cables) are securely attached. Reseat any loose components by removing and reinserting them.
- Boot Without Peripherals: With internal connections secured, power on the PC with no external peripherals plugged in. See if it now passes the BIOS screen.
- Isolate the Culprit: If the PC boots normally, one of the peripherals was causing the conflict. Connect your devices back one at a time, restarting each time, to identify which device triggers the fault. Replace or avoid using the faulty device.
Why This Works: Disconnecting externals and securing internal connections eliminates potential hardware conflicts. The BIOS performs hardware checks at startup – a bad USB device or an improperly connected component can stall this process. By removing peripherals and ensuring components are properly seated, you allow the BIOS to complete its checks and proceed to boot. This basic fix often resolves cases where a simple conflict or loose connection was keeping the system from booting.
How Do You Check Boot Order and BIOS Settings When Stuck on the BIOS Screen?
Incorrect BIOS settings are another frequent reason a PC never gets past this screen. Notably, a wrong boot order (boot sequence) can prevent the system from finding a bootable operating system drive, effectively trapping you in BIOS. For example, if the BIOS is set to boot from a USB or network that isn’t present, the PC may not progress. Similarly, certain BIOS configurations (legacy/UEFI mode mismatches, enabled “fast boot” or virtualization settings) might cause boot issues if misconfigured.
Steps to Check Boot Settings:
- Enter BIOS Setup: Restart the computer and immediately press the required key to enter BIOS (common keys are Del, F2, F10, or Esc depending on your motherboard).
- Load Default Settings: Once in the BIOS menu, find the option to “Load Setup Defaults” or “Optimized Defaults” and apply it. This resets the BIOS settings to a stable default state.
- Check Boot Priority: Navigate to the Boot Order or Boot Priority section. Ensure your primary hard drive or SSD (the one with Windows installed) is listed as the first boot device. If an incorrect device (like an empty DVD drive or USB) was first, adjust the order so the system drive is first.
- Save and Exit: Save the changes (usually by pressing F10) and restart the PC.
Why This Helps: Resetting to default BIOS settings clears any misconfigurations that might have been preventing boot (for instance, accidental changes or BIOS updates that altered settings). An incorrect boot order is a well-known cause of this, because the system might be trying to boot from a non-bootable source. By ensuring the correct drive is prioritized, you enable the BIOS to hand off control to the operating system loader on that drive. Often, simply loading defaults and fixing the boot sequence resolves the issue and allows the PC to continue booting normally instead of stopping at the firmware screen.
Clear CMOS (Reset BIOS Memory)
If basic settings adjustments didn’t work, the next step is to clear the CMOS, which is the memory chip that stores your BIOS configuration. Clearing CMOS (also known as resetting the BIOS) will revert all BIOS settings to factory defaults by physically draining the CMOS battery or using a motherboard jumper. This can resolve deeper firmware issues – for example, if the BIOS got into a weird state or a recent change is causing the boot hang (leaving your computer unable to boot). Problems or corruption in the CMOS data can directly affect startup, so resetting it is a powerful troubleshooting step.
How to Clear CMOS:
- Power Down and Unplug: Shut down the PC and disconnect the power cord. Ground yourself to avoid static discharge.
- Access the Motherboard: Open the case and locate the small round CMOS battery on the motherboard (it looks like a coin cell). On most modern laptops this is not a user-serviceable part — it often sits under the motherboard or is soldered in place, and Dell's own instruction is only to disconnect the battery "if possible (check your manual)". If you cannot reach it without stripping the chassis, stop here: that is a bench job, and forcing it is how a boot fault becomes a board fault.
- Remove the Battery: Gently remove the CMOS battery from its slot, then press and hold the power button for 10 to 20 seconds to drain the residual charge. Dell documents exactly that sequence, and ASUS specifies about 5~10 seconds on the clear-CMOS jumper — so the widely repeated advice to "wait 15 minutes" is not something any motherboard vendor actually asks for. It is the drain, not the waiting, that clears the memory. Jumper position and timing are board-specific, so follow your own motherboard manual.
- Reinsert Battery and Boot: Place the battery back in its socket (or reset the jumper) and plug in the PC. Power it on and see if the BIOS screen issue is resolved.
Why This Works: The CMOS battery preserves BIOS settings (like boot order, date/time) when the PC is off. By removing it, we force the BIOS to revert to default settings at the next startup. This can clear any incorrect setting or glitch that was keeping the machine from booting. Essentially, it gives the BIOS a “fresh start.” After a CMOS reset, you will need to re-enter any custom BIOS settings (if needed), but in many cases the system will boot normally again if a CMOS issue was the culprit.
How Do You Test and Replace Faulty Hardware (RAM, Drives) Causing a BIOS Freeze?
Another reason the boot stops here is hardware failure in critical components like RAM or the storage drive. Faulty RAM modules or memory slots often cause boot freezing – the system cannot proceed if it detects memory errors. Likewise, a malfunctioning boot drive (the hard disk or SSD with your OS) can prevent the BIOS from handing off control to any operating system. The BIOS may get stuck if it cannot communicate with the drive or if no valid OS is found.
Troubleshooting Steps:
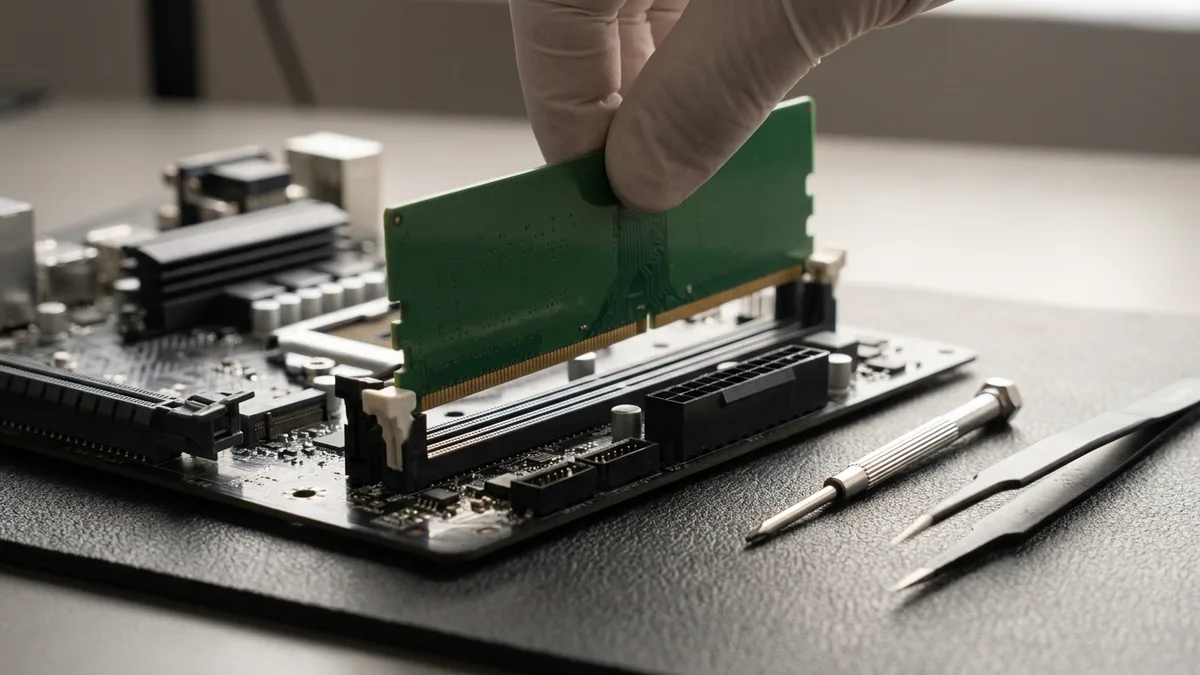
- Test RAM Modules: If you have multiple RAM sticks, try booting with one stick at a time. Power off, remove all but one RAM module, and then try to boot. Rotate through each module and each slot. If the PC boots with some sticks but not others, you’ve identified a bad RAM module or slot. Replacing the faulty RAM can fix the BIOS freeze.
- Check for Drive Detection: Enter the BIOS setup and see if your primary storage drive is recognized in the SATA/M.2 storage list. If the drive is missing, the PC might be stuck in BIOS because it has nowhere to boot from. Reseat the drive’s cables (for SATA drives) or reinsert the drive (for M.2 SSDs) and check again.
- Try a Different Drive: If possible, connect a different hard drive or SSD that has a working OS, or use a bootable USB drive. If the computer boots from alternate media, your original boot drive may be faulty. You may need to replace the drive and reinstall Windows if it has failed.
- Listen for Beep Codes: Some motherboards emit beep codes on boot failure (e.g., a certain pattern for RAM errors). Refer to your motherboard’s manual if you hear beeps – it can hint at which hardware is problematic.
Why This Works: Eliminating bad RAM or drives is crucial because no amount of BIOS tweaking can help if a core component has failed. Memory issues are a common cause of BIOS boot problems, since the BIOS tests memory early on. By identifying a bad stick and replacing it, you restore normal boot functionality. Similarly, if the BIOS can’t detect a bootable drive, it will loop on BIOS screen. Ensuring a healthy drive with a proper OS is present allows the startup to progress beyond BIOS (the boot completes). These advanced checks might require additional hardware or technical know-how, but they address deeper causes of a system that will not boot.
Advanced Fixes: BIOS Update and Bootloader Repair
If you’ve tried the above and still cannot get past the firmware screen, more advanced solutions may be necessary. Two possibilities to consider are a BIOS firmware update and a Windows bootloader repair or reinstallation. An outdated or corrupted BIOS can occasionally cause boot issues – manufacturers sometimes release BIOS updates to fix bugs including boot conflicts. Additionally, if the BIOS passes control to the drive but Windows fails to start, the issue might be a corrupted OS or bootloader (though in that case you usually get an error message rather than a stuck BIOS screen). For completeness, and especially if you see an endless reboot into BIOS, these steps are worth exploring:
- Update the BIOS: Visit your motherboard or laptop manufacturer’s support site and check for BIOS updates. Download the latest BIOS file and carefully follow their instructions to flash the BIOS (often using a USB drive or within the BIOS’s update utility). Caution: BIOS updating should be done carefully to avoid power loss or errors. A successful update can fix compatibility issues (e.g. with newer hardware) and resolve certain BIOS-level bugs. If your BIOS was heavily outdated, this might solve the boot problem.
- Repair or Reinstall Windows: Create a Windows installation media (USB) and boot from it (you may need to use the BIOS Boot Menu to select the USB). Try the “Startup Repair” tool provided in Windows Recovery to automatically fix boot problems. If that doesn’t help, consider backing up your data (you can attach the drive to another PC if needed) and then performing a clean installation of Windows. A fresh OS or repaired bootloader ensures that a software issue isn’t mistaken for a BIOS freeze.
- Professional Diagnostics: If none of the DIY fixes work, there could be a more obscure issue (like a faulty motherboard or CPU). At this stage, contacting a professional repair service is prudent. Complex problems such as motherboard firmware corruption or multiple component failures require advanced tools and expertise.
Why These Help: Updating the BIOS addresses the scenario where the firmware itself had a bug or incompatibility causing it to hang during startup. For instance, USB device conflicts or memory timing issues have been resolved by BIOS updates in some cases. Meanwhile, ensuring the Windows bootloader is intact covers the situation where the BIOS isn’t truly “stuck” but rather unable to hand off to a damaged operating system. By repairing the OS or reinstalling it, you eliminate software corruption as a factor (so your PC won’t stall on a missing boot file). These advanced fixes go beyond routine troubleshooting, but they can resolve persistent boot failures that simple fixes didn’t address.
Basic vs Advanced Fixes for BIOS Issues (Quick Comparison)
Sometimes it’s hard to know which approach to try first. Basic fixes are simpler and safe for anyone to perform, whereas advanced fixes might require technical skill or carry some risk. The table below compares basic vs. advanced BIOS troubleshooting methods:
| Aspect | Basic Fixes (DIY First Steps) | Advanced Fixes (Expert Steps) |
|---|---|---|
| Solution Type | Simple tweaks and checks (e.g. remove peripherals, check cables, reset BIOS settings). | Complex procedures (e.g. BIOS firmware update, replacing hardware, OS reinstallation). |
| Skill Level | Beginner-friendly – no special expertise needed; low risk. | Technical – requires experience or professional help; higher risk if done incorrectly. |
| Tools Needed | Minimal or none. (Maybe a screwdriver to reseat components). | Specialized tools/software. (BIOS flash drive, multimeter, spare parts, Windows installation media). |
| Common Scenarios | Minor issues like misconfigured BIOS settings, loose cables, or peripheral conflicts that cause a BIOS screen freeze. | Serious issues like hardware failure (bad RAM/drive), firmware bugs, or corrupted system boot files preventing boot. |
Resolve Being Stuck on BIOS Screen: Quick Tips & Expert Advice
Getting stuck on the BIOS screen can be alarming, but as we’ve shown, most cases can be resolved with systematic troubleshooting. In summary, always start with the basic fixes: remove external devices, double-check BIOS settings, and reset the BIOS if needed. These steps fix the majority of BIOS hang-ups by addressing common causes like configuration errors or simple hardware conflicts.
If the problem persists, move on to hardware diagnostics (RAM, drive) and consider updating the BIOS or repairing the OS. We’ve drawn on our hands-on experience at Esmond Service Centre to provide these solutions, combining professional insight with easy-to-follow instructions. Remember, patience and thoroughness are key – test one change at a time so you can identify what fixes the issue. By following this guide, there’s a good chance you’ll get past it and boot into Windows successfully.
We hope these tips have helped you troubleshoot your BIOS issue. If you have questions or your PC still will not boot, feel free to reach out – we’re here to help. If you would rather not open the machine at all, bring it in — diagnosis is free, so you will know which fault you are dealing with before committing to anything.
When to Stop, and What It Costs in Singapore
Stop before you flash the BIOS. Of everything on this page, a firmware update is the only step that can fail halfway through and turn a machine that still powers on into one that does not — and that converts a diagnosis into chip-level board work. It is the last thing to try, not the next thing.
Here is what that decision is actually worth in Singapore, using Esmond Service Centre's own published rates. Laptop motherboard repair runs from $186 at 3 to 5 working days for chip-level work, and on that route diagnosis is free — so it costs nothing to find out which fault you have before you risk the more expensive one. A board replacement is the outcome worth avoiding: it takes 1 to 2 working days when the board is in stock and 7 to 21 working days when it has to be ordered, and it "may require reinstallation or BIOS reset", where a chip-level repair leaves your data, BIOS and OS intact.
We do not replace a board we can repair. Esmond Service Centre's published threshold is repair for IC (chip) failure, no power, short circuit and port issues, and replacement only when a board is cracked, burned or heavily corroded. If the fault turns out to be the drive rather than the board, laptop hard disk replacement starts at $148; if it is a desktop that will not start at all, see desktop won't turn on.
Still Stuck on BIOS Screen? Contact Our BIOS Experts Today
If you’re still stuck on BIOS screen after trying the above steps, don’t panic – professional help is available. Esmond Service Centre’s team of BIOS and motherboard specialists can diagnose deeper issues and get your PC up and running.
Enjoyed this comprehensive troubleshooting article? Follow our Facebook page, LinkedIn profile or Instagram account for more expert insights and practical tips on cutting-edge technology. Whether it’s a tricky BIOS corruption or a hardware fault, our experts have the experience and tools to fix it safely. Don’t let a stubborn boot issue hold you back; contact Esmond Service Centre today for fast, reliable assistance and regain control of your computer in no time, with the boot problem behind you.

Esmond Service Centre's experienced technicians can diagnose and fix it fast — free diagnostics, repairs from $65.