

📑 On this page
A MacBook Air arrow key not working: what is happening
Walk-in and WhatsApp customers in Singapore ask us a version of the same question: one arrow key on my MacBook Air has stopped working — how do I fix it? It is a fault worth slowing down over, because the cause ranges from a free settings toggle to a worn keyboard mechanism, and the right answer is completely different at each end. This guide is written from those repairs: the free checks that clear most single-key faults, how the arrow and enter keys are built and why they fail, and the smaller number of cases where the key really needs a workshop.
First: a setting, a loose keycap, or a fault?
Before any repair, place your own case, because a setting, a loose keycap and a failed switch need completely different answers. Two quick tests tell them apart. First, plug in a USB or Bluetooth keyboard: if the same arrow key works there, the Mac and macOS are fine and the fault is in the built-in key itself. Second, open a plain text document and watch what the key does — nothing at all, the wrong action, or a character that repeats. Match your symptom below.
- Arrow key moves the pointer, or nothing types at all: most likely Mouse Keys or Slow Keys is switched on in Accessibility — a free setting to undo.
- The key is loose, tilted, or has popped off: a dislodged keycap or a worn scissor mechanism — a small mechanical fix, not a dead keyboard.
- The key does nothing but looks and feels normal, and an external keyboard works: a failed switch or dome under that key — a keyboard-level repair.
- Several keys dead together, a mushy feel, or keys repeating: points to the keyboard assembly or, on 2015–2019 models, the butterfly mechanism — hardware, not a setting.
How to fix a MacBook Air arrow key: the free checks
Apple's own guidance is the place to start, and none of these can harm the Mac. Work through them in order; together they clear most single-key faults that turn out to be software, settings or debris.
- Restart first. A restart clears a stalled input state and is the fastest thing to rule out before you change any setting.
- Turn off Mouse Keys. Open Apple menu > System Settings > Accessibility > Pointer Control and switch Mouse Keys off. Apple notes that when Mouse Keys is on, you cannot use the keyboard or numeric keypad to enter text — so it can make the arrow and other keys seem dead.
- Turn off Slow Keys. In Accessibility > Keyboard, switch Slow Keys off; when it is on you must hold a key longer than usual before it registers, which feels exactly like a dead key.
- Check the keyboard layout. In System Settings > Keyboard, confirm the correct input source and region, so a key is not quietly mapped to a different character.
- Clean under the key with compressed air. For MacBook (2015 and later) and MacBook Pro (2016 and later), Apple says to hold the notebook at a 75-degree angle, keep the straw about half an inch away, and spray left-to-right across the key — then rotate to the right side and spray again, and to the left side and spray again. Do not invert the can, and use only compressed air.
- Test an external keyboard. Connect a USB or Bluetooth keyboard and try the same key. If it works there, the fault is the built-in key, not macOS.
- Update macOS. Install the latest updates, which carry keyboard and firmware fixes, then restart and test the key again.
Know the limit before you spend: these free checks will not fix a snapped retainer clip, a worn scissor mechanism or a failed butterfly switch. If this does not work after you have tried every step, the fault is mechanical and needs a workshop. The next sections help you tell when you have reached that point.
Symptom-to-cause quick reference
Use this table to place your own MacBook Air. Match what you see to the most likely cause, whether it is safe to try yourself, and the typical next step. It is a starting point, not a diagnosis — a hands-on test confirms the real fault.
| What you see | Most likely cause | Safe to try yourself? | Typical next step |
|---|---|---|---|
| Arrow key moves the pointer, or nothing types | Mouse Keys or Slow Keys is on | Yes — turn both off in Accessibility | None — a setting change |
| Key types the wrong character | Wrong keyboard layout or region | Yes — set the correct input source | None — a setting change |
| Keycap loose, tilted or popped off | Dislodged keycap or scissor clip | Partly — reseat gently, or have it clipped | Keycap / hinge-clip repair |
| Key dead, feels normal, external keyboard fine | Failed switch or dome under the key | No | Keyboard-level repair |
| Several keys dead, mushy or repeating | Keyboard assembly or butterfly fault | No | Keyboard replacement / diagnosis |
| Dead after a spill or a drop | Liquid or impact damage | No | Inspection before damage spreads |

Why a single arrow or enter key stops working
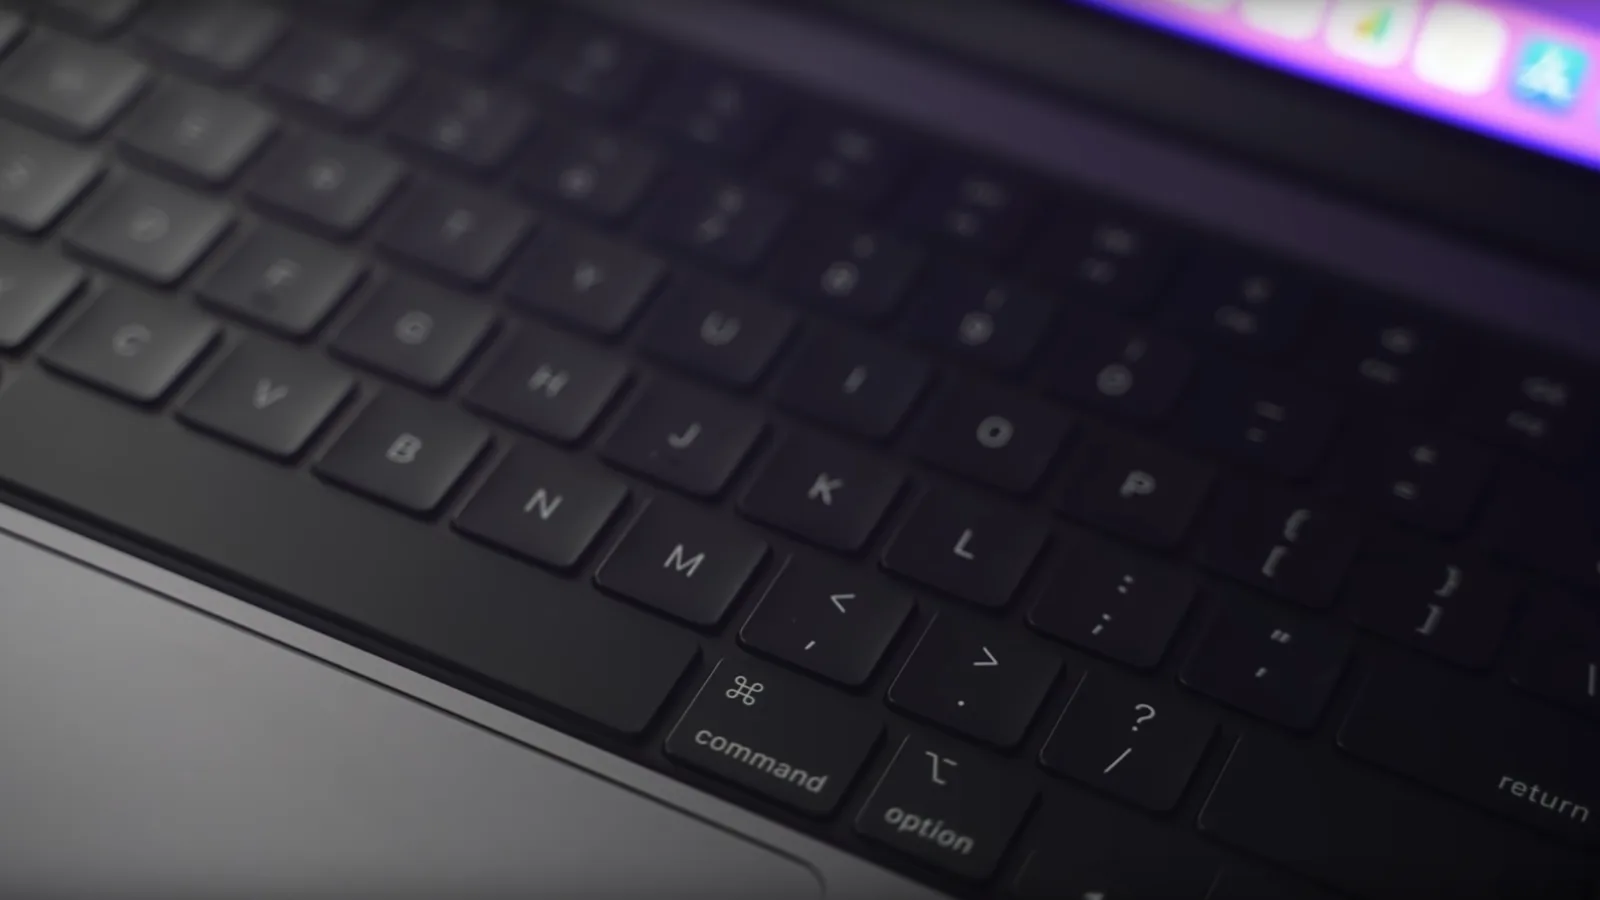
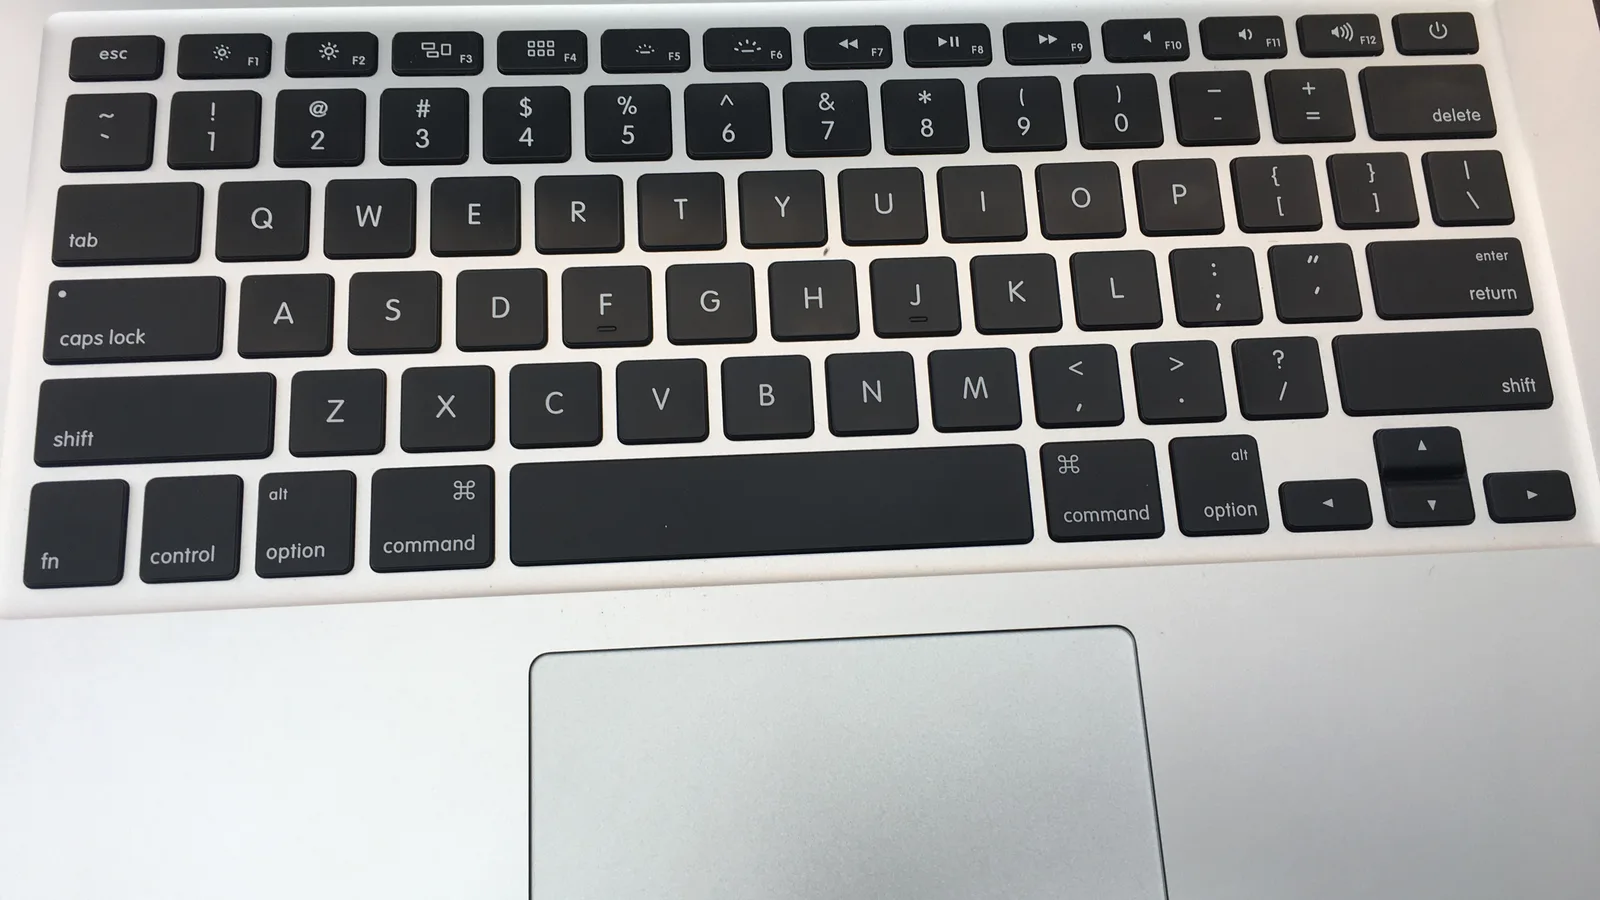
When the settings are right and an external keyboard works, the fault is in the key itself. A MacBook Air key is not a simple button: the keycap you press sits on a small scissor or butterfly mechanism that keeps it level, over a dome or switch that registers the press. The arrow keys sit in a tight cluster at the bottom-right, and the left and right arrows are half-height, so they take more knocks and collect more debris than most keys. When one of these parts wears, cracks or clogs, that single key stops responding while the rest of the keyboard is fine.
- Dislodged or cracked keycap: the flat cap has come loose from the mechanism, so the key tilts, sticks or does nothing.
- Worn scissor mechanism or retainer clip: the tiny plastic scissor that holds the cap level breaks, especially on the small half-height arrow keys.
- Failed dome or switch: the part under the key that registers the press has worn out, so the cap moves normally but nothing types.
Reseating a popped arrow keycap — carefully
A keycap that has simply popped off can sometimes be reseated, but this is where most self-repairs go wrong, so take it slowly or leave it to a technician. The scissor clip under an arrow key is small and brittle, and it only clicks back one correct way.
- Look first: check whether the scissor clip is still on the keycap or left on the keyboard, and whether it is intact or cracked.
- Seat the clip flat: line it up and press the keycap straight down until it clicks evenly on all sides — never force a corner.
- Stop if it does not click: a clip that will not seat, or sits tilted, is worn or broken and needs the right replacement part.
Be honest about the risk. Prying a keycap or clip with a metal tool, or forcing it, can cause permanent damage — a snapped scissor or a torn switch turns a cheap keycap fix into a full keyboard replacement, and an unauthorised attempt can void the warranty. If you are not sure, stop before you make it worse.

Older MacBook Air models and the butterfly keyboard
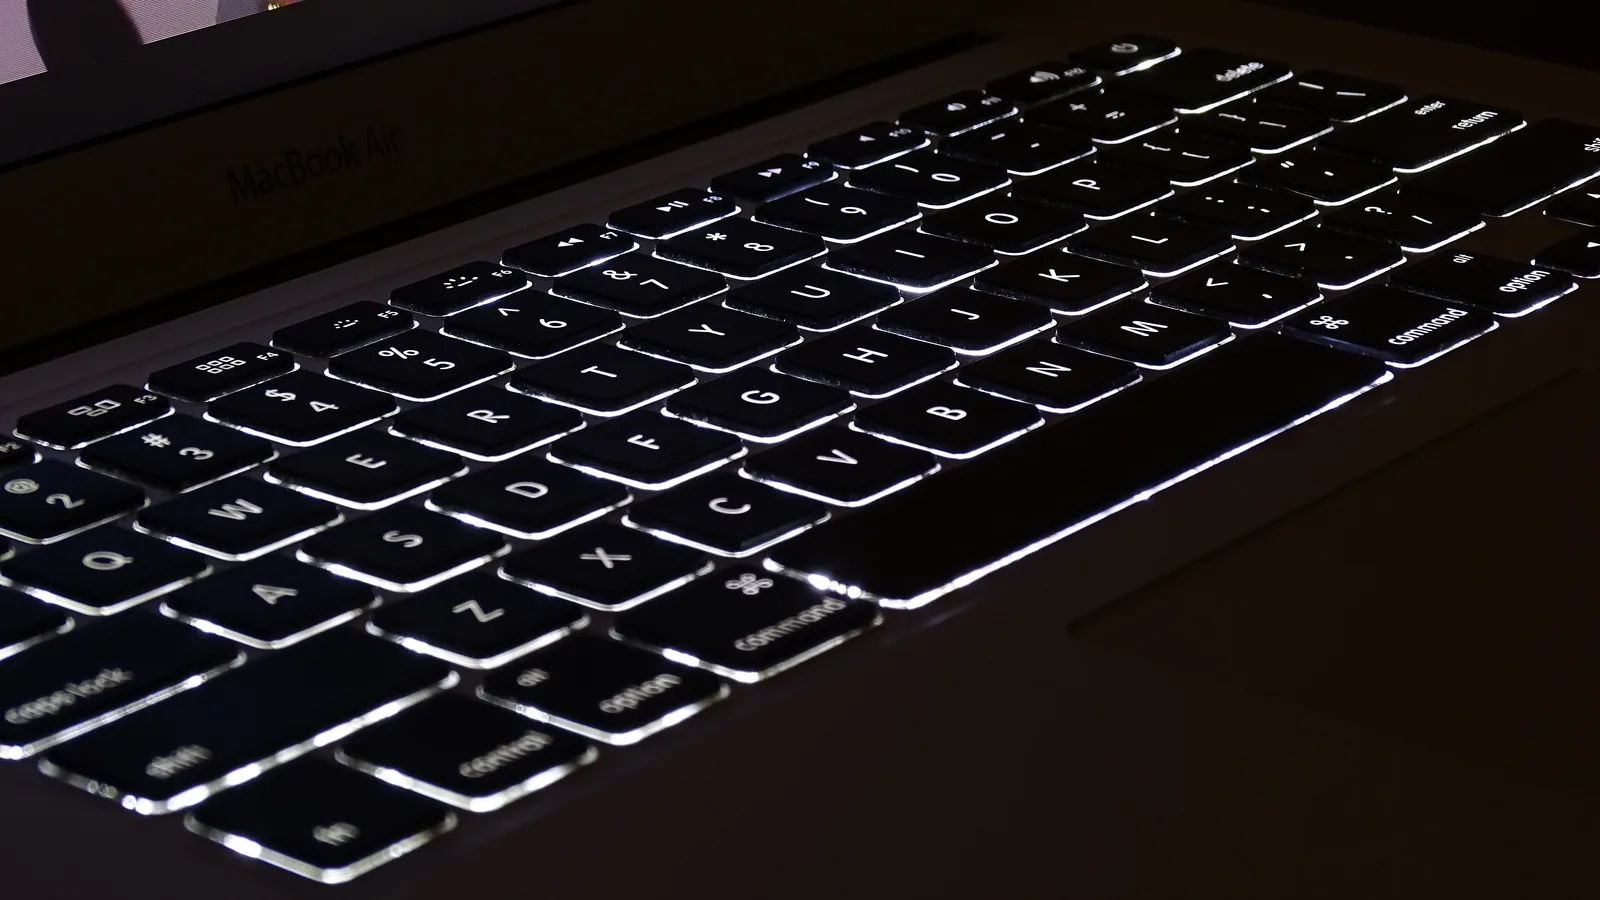
Model year matters. MacBook Air and MacBook Pro laptops from roughly 2015 to 2019 used Apple's 'butterfly' keyboard, which became known for keys that stuck, repeated or stopped responding — often from a single speck of dust. Apple ran a free Keyboard Service Program for the affected models, but that program has now ended, because all the eligible models passed their coverage window. If you have a butterfly-era MacBook Air with a dead or repeating key, cleaning may give temporary relief, but a lasting fix usually means replacing the keyboard assembly with the later, more reliable design.
When to stop and bring it in
Know when to stop and bring it in. If the free checks do not bring the key back, if the keycap will not seat, or if several keys have failed together, stop and seek professional help before a small fault becomes a bigger one. Pressing harder, prying with tools or repeated attempts risk turning a single-key repair into a whole-keyboard job. A technician can confirm in minutes whether it is a keycap, a clip, a switch or the assembly.
What we do in the workshop
When a MacBook Air with a dead arrow or enter key reaches our bench in Singapore, we do not guess. We rule out settings and software first, test with an external keyboard, inspect the keycap and its scissor clip under magnification, and check whether the fault is one key or the whole assembly — before any part is ordered.
- Settings and software first: we confirm Mouse Keys, Slow Keys and the layout, so we never replace a part a setting would have fixed.
- Key-level inspection: we check the keycap, the scissor clip and the dome under magnification to see whether a single-key repair is enough.
- Assembly-level work: where the switch or the butterfly mechanism has failed, that is a keyboard-assembly repair, scoped before any part is ordered.
- Honest scoping: we deliberately do not quote a fixed price here — the cost depends on whether it is one keycap or the whole keyboard, and we would rather diagnose first than guess.
Keeping your MacBook Air keys working
A few habits keep the keys responsive and head off most single-key faults. Keep crumbs and liquids away, press keys squarely rather than at the edges, and leave Accessibility settings off unless you use them.
- Keep food, drinks and dust away from the keyboard; a single crumb is enough to jam an arrow key.
- Press keys in the centre, not hard at the edges, which is what cracks a scissor clip over time.
- Leave Mouse Keys and Slow Keys off in Accessibility unless you rely on them.
- Install macOS updates, which include keyboard and firmware fixes, and keep the keyboard area clean.

Esmond Service Centre's experienced technicians can diagnose and fix it fast — free diagnostics, repairs from $65.