

📑 On this page
D drive missing after a Windows update: what is really happening
Walk-in and WhatsApp customers across Singapore bring us the same scare: the PC installed an update overnight, and the next morning the D drive — photos, work files, game library, years of downloads — is simply gone from 'This PC'. It is one of the more reassuring problems we see, because the data is almost never destroyed. Windows did not erase your drive; a feature update reset the drive-letter assignments, and your partition came back without its letter. This guide is written from those jobs: how to tell a missing letter from a truly lost partition, the safe free steps to get it back, and the handful of cases where the drive really has failed and needs a workshop.
First: stop, and do not do these
Before you try anything, understand the one real danger here. The files are not lost — but they can be, if you let Windows or a tool write fresh data over them. A lost drive letter is harmless; an overwrite is permanent. So the first move is to stop and avoid the actions that destroy data, not to start clicking fixes.
- Do not format. If Windows offers to format the drive to 'use' it, say no — a format writes a new, empty file system over your files and turns an easy recovery into permanent data loss.
- Do not create a new volume on it. Making a new simple volume on that space tells Windows the old partition is free to overwrite.
- Do not run diskpart 'clean'. Microsoft's own documentation says the diskpart clean command 'removes any and all partition or volume formatting from the disk with focus' — on the wrong disk that wipes everything.
- Stop saving new files to that disk. Every new download or install risks landing on the exact sectors that still hold your old data, which is the one thing that makes recovery impossible.
- Do not assume it is dead. A drive that is only missing its letter is completely fine; guessing wrong and acting drastically is what causes real, permanent damage.

Is the drive gone, or just its letter?
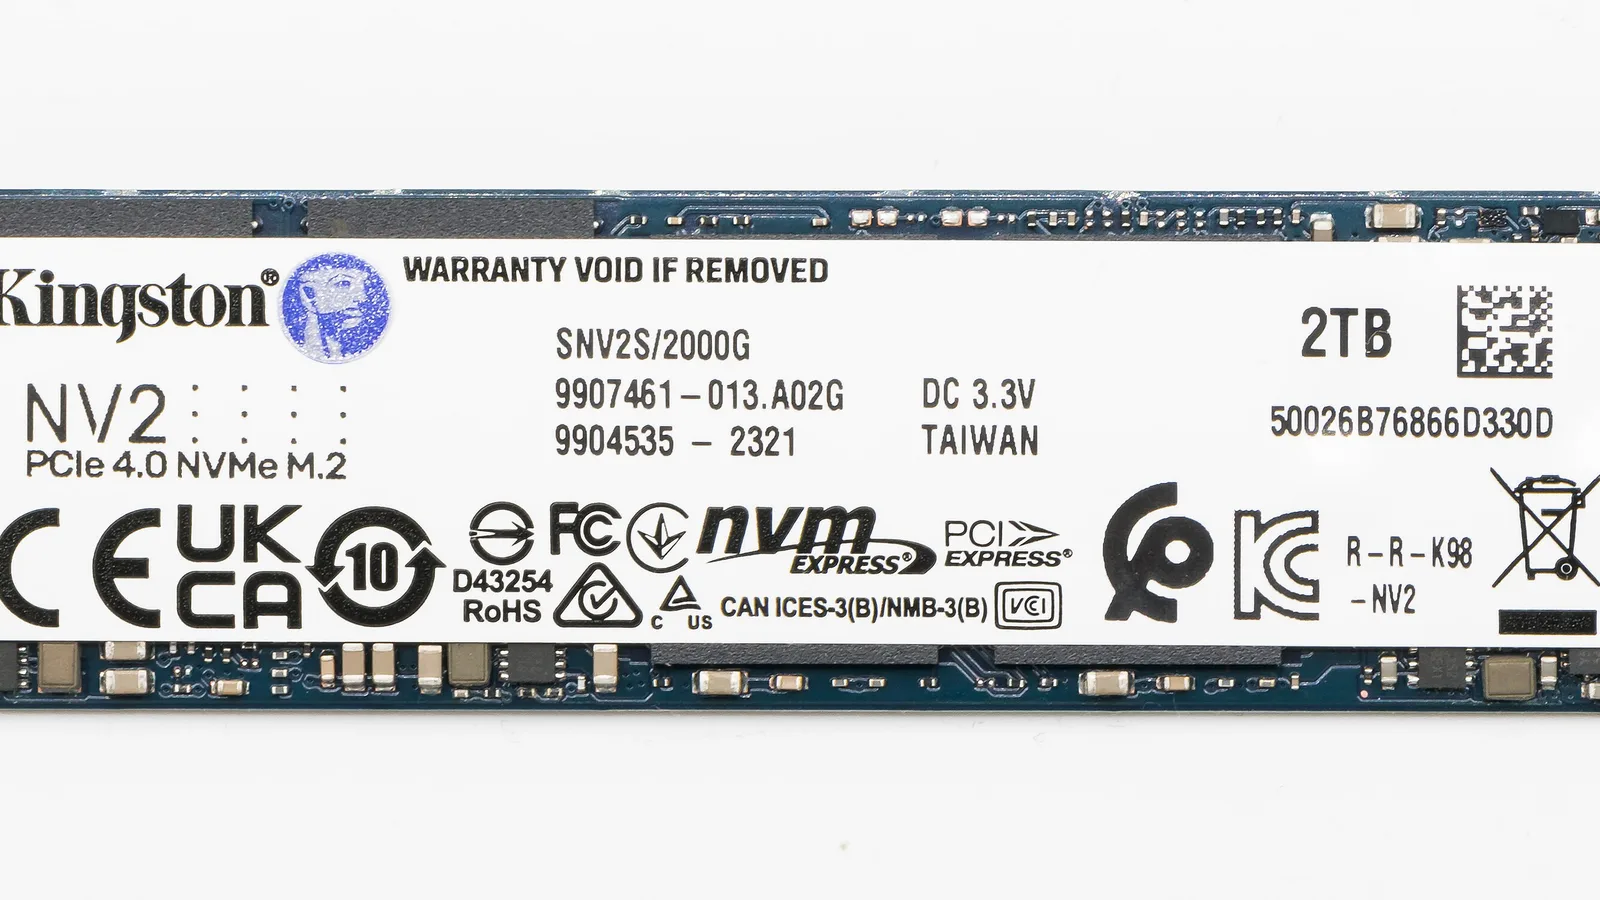
Everything after this depends on one question: is the partition still listed in Disk Management, or not? Press Windows + X, open Disk Management, and look at the disk that held your D drive. If you can see the partition — often shown as 'Healthy' with its size and used space, just with no letter — then the data is intact and this is a five-minute fix. If the space shows as 'Unallocated' (a black bar) or the whole disk is missing, the partition table was damaged or the drive itself may be failing, and you move to recovery software or a workshop. The drive pictured above is the physical disk all of this is about; whether it is an SSD or a spinning hard disk, losing a drive letter never touches the data stored on it.
| What you see in Disk Management | Most likely cause | Safe to try yourself? | Typical next step |
|---|---|---|---|
| Partition is there, 'Healthy', but has no drive letter | Windows update reset the drive-letter assignment | Yes — assign a drive letter | None — a two-minute Disk Management fix |
| Drive shows but File Explorer does not, after update | Drive letter dropped or hidden | Yes — rescan disks, reassign letter | None — reassign the letter |
| Space shows as 'Unallocated' (black bar) | Partition table damaged; data usually still on disk | Partly — recover first, do not create a volume | Partition-recovery software |
| The whole disk is missing from Disk Management | Loose cable, disabled in firmware, or a failing drive | Partly — reseat cables, check BIOS | Professional diagnosis if still gone |
| Partition shows as 'RAW' or asks to format | File system header damaged by the interrupted update | No — do not format | Recovery software or a workshop |

How to get your D drive and files back: the safe steps
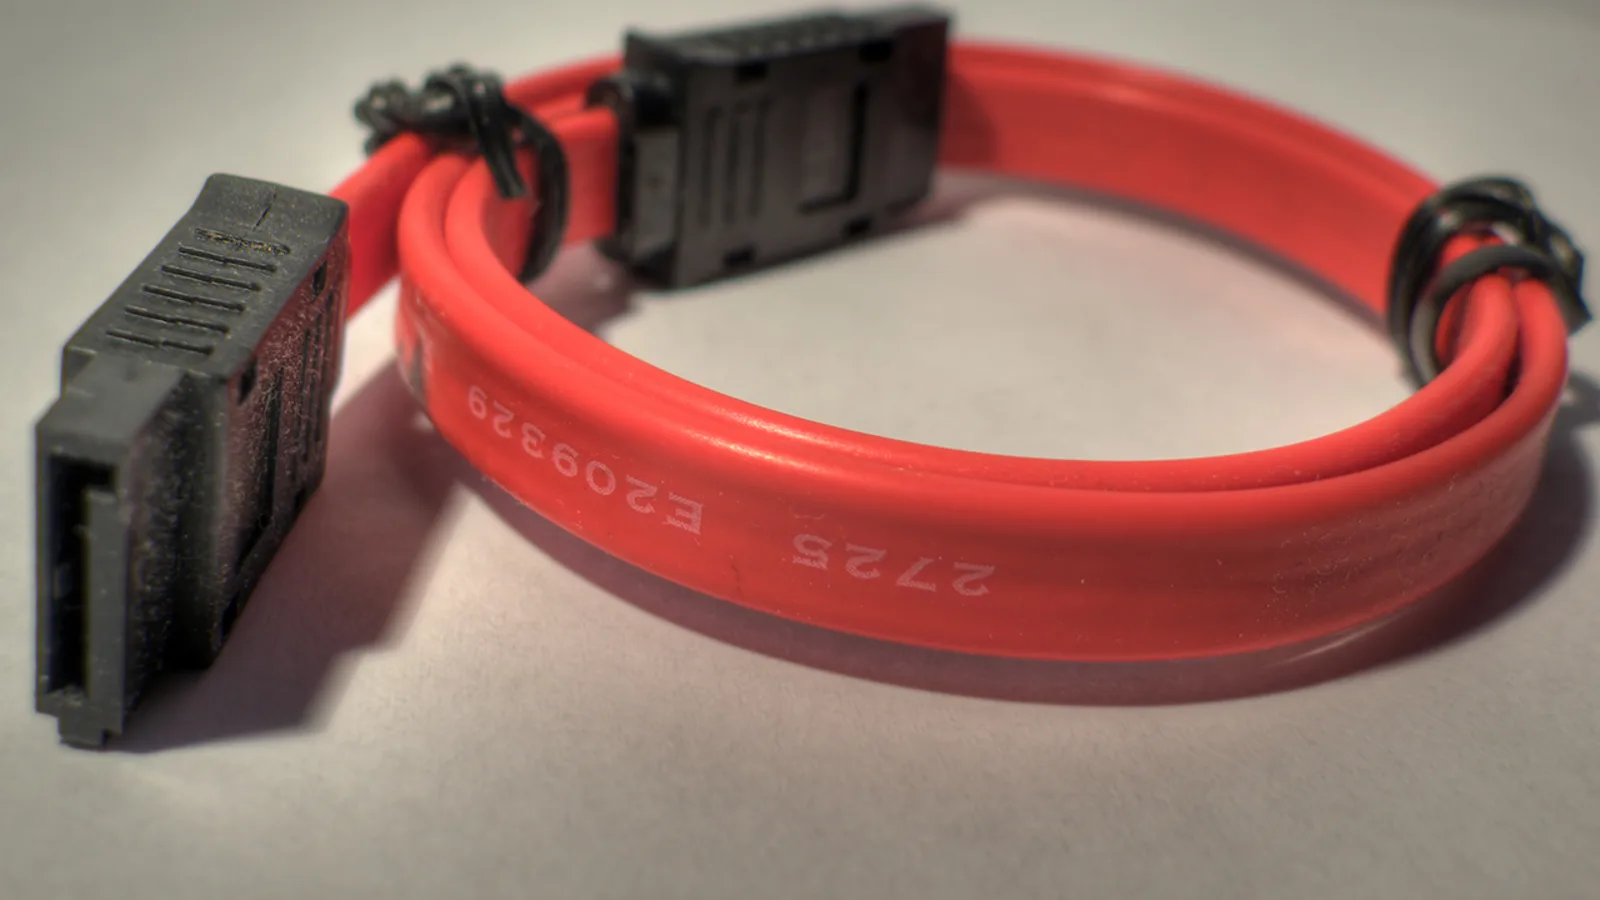
If Disk Management still shows the partition, work through these in order. None of the first steps writes anything to the drive, so none can make things worse, and the most common cause — a drive letter the update simply dropped — is fixed at step two. Stop as soon as the drive reappears. The cable pictured above matters for step four: a drive that is wholly missing from Disk Management is often a loose SATA data or power connector rather than a software fault at all.
- Rescan the disks. In Disk Management, open the Action menu and choose 'Rescan Disks', or run 'rescan' in diskpart. This alone brings back many drives the update momentarily dropped.
- Reassign the drive letter. Right-click the partition, choose 'Change Drive Letter and Paths', click 'Add' or 'Change', and pick a letter such as D. Microsoft's guide confirms this is how you assign or change a drive's letter — and it is usually the whole fix.
- Check for a drive-letter clash. If 'D' is taken by a USB stick or an optical drive, assign a different free letter first, then swap it back later. Never knowingly assign the letter to an EFI (the start-up software below macOS) System or Recovery partition.
- Reseat the physical connections. If the disk is missing entirely, power down and reseat its SATA data and power cables (or the M.2 drive), and confirm the disk is enabled and visible in the BIOS/UEFI. A knock during the update window can loosen a cable.
- Roll back or System Restore. If a specific update clearly caused it, use System Restore to a point before the update, or uninstall that quality update — only after your files are visible and backed up, never as a first move.
This will not fix a partition that is already gone from Disk Management, a drive the BIOS cannot see at all, or a disk making clicking or grinding noises — those are past the point where a drive letter helps. If this does not work, the next section covers recovery software, and after that, when to hand it to a professional.

When the partition itself is gone: recovery software
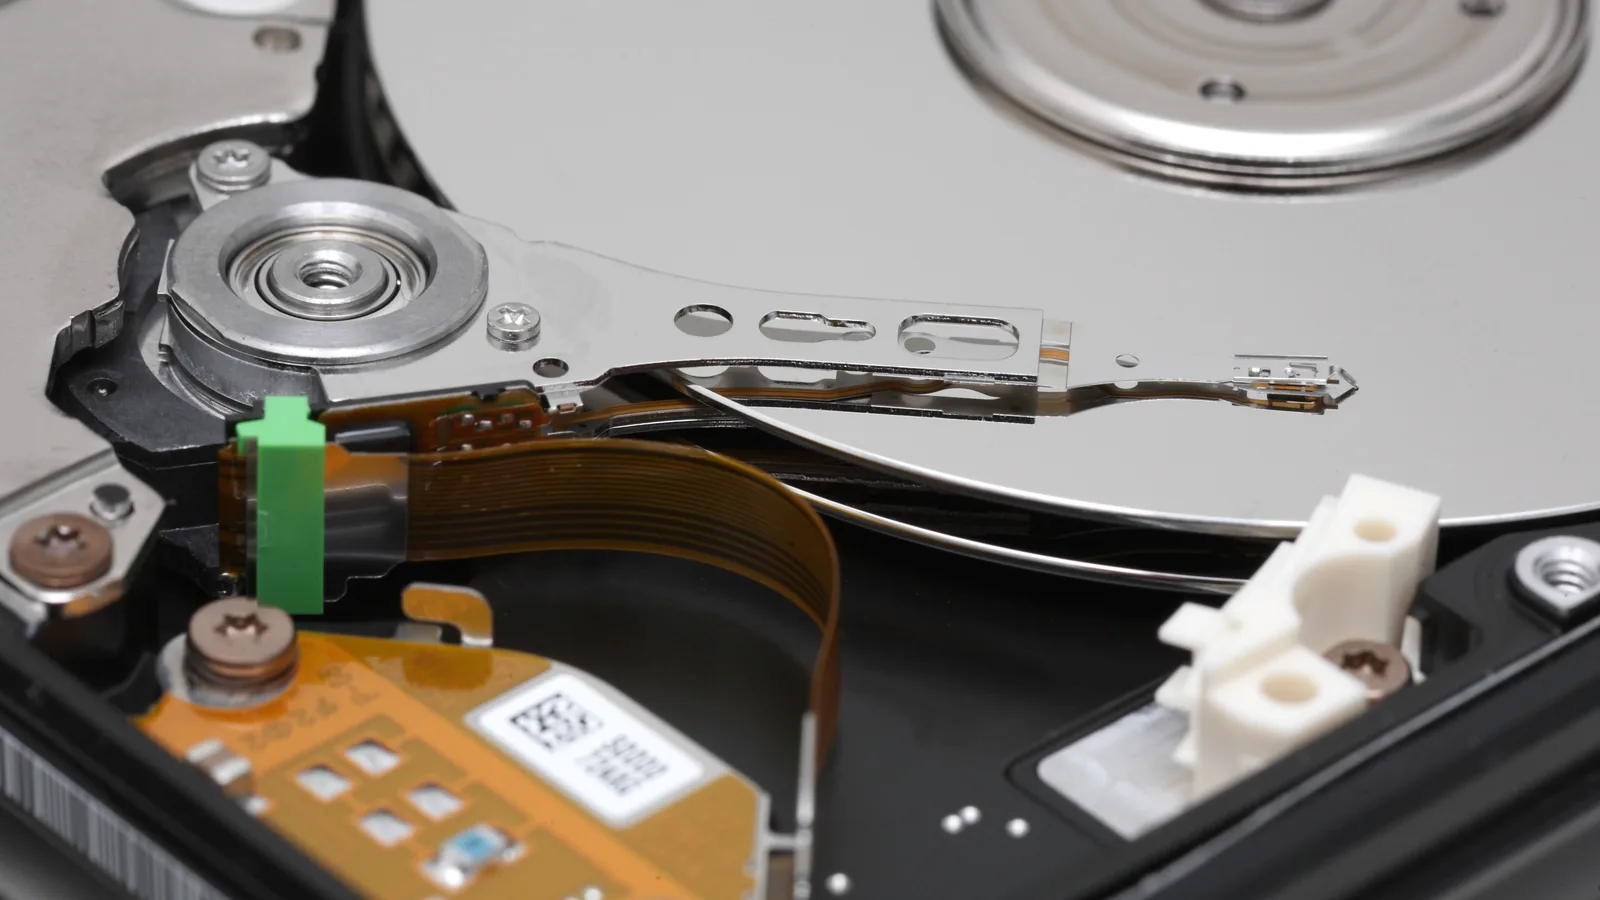
If Disk Management shows unallocated space or a RAW volume instead of your partition, the drive-letter trick is over — the partition table or file-system header was damaged, often by an update that was interrupted or lost power midway. The good news is the same as before: deleting a partition only removes its entry from the table, not the files on the platters or flash inside, like the drive pictured above. Partition-recovery tools such as TestDisk scan the whole disk, rebuild the lost partition entry, and make the files readable again. Install the tool on a different drive, recover to a different drive, and never let it write back onto the disk you are rescuing.
- Recover to a separate drive. Always copy recovered files onto another disk or an external drive, so the rescue never overwrites the data it is reading.
- Use a read-only scan first. Tools like TestDisk can search for lost partitions and, in many cases, restore the entry without touching your files.
- Know when software stops helping. If the disk is not detected, clicks, or is physically damaged, software cannot reach it — that is a cleanroom or workshop job, not a download.
When to stop and bring it in
Some situations are past safe DIY, and pushing on makes them worse. If the disk is not detected at all, if it clicks, buzzes or grinds, if the data is irreplaceable, or if a partition tool asks to write changes you do not understand — stop and seek professional help. When a drive like this reaches our bench in Singapore, we image the disk first and work only on the copy, so the original is never put at further risk. We deliberately do not quote a fixed price here: the cost depends on whether it is a simple drive-letter fix, a logical partition rebuild, or a physical recovery, and we would rather diagnose than guess.
- Imaging first: we clone the drive and recover from the image, so the original data is never written to during the work.
- Logical vs physical: we separate a dropped drive letter and a damaged partition table from a genuinely failing disk before quoting anything.
- Honest scoping: if it is only a missing drive letter, we will tell you so — some jobs do not need the workshop at all.
- No guessing on parts: a clicking or undetected drive is a hardware recovery, handled carefully, not a format-and-hope.
Keeping your drives visible and your data safe
A missing D drive is usually a scare, not a disaster — but the habits below mean the next update can never cost you anything.
- Keep a backup: a copy on a second drive or the cloud turns any lost partition into an inconvenience, not a loss.
- Before a big feature update, note which disk is which, so a reset drive letter is instantly recognisable afterwards.
- After an update, if a drive is missing, check Disk Management before you install or download anything new.
- Give important data its own letter and label, so you notice immediately if the assignment changes.

Esmond Service Centre's experienced technicians can diagnose and fix it fast — free diagnostics, repairs from $65.